Як оплатити підписку Twitch криптовалютою
#Інструкція з оплати
Twitch — найбільша у світі платформа для стримінгу. Автори ведуть прямі трансляції ігор, спілкуються з глядачами в реальному часі, проводять розмовні стріми, музичні ефіри та творчі сесії. Аудиторія дивиться улюблених стримерів, бере участь у чаті та підтримує авторів.
Основний спосіб підтримати стримера і отримати додаткові можливості — це підписка на його канал. Але оформити її напряму виходить не у всіх. Частина глядачів зберігає заощадження в криптовалюті, яку Twitch не приймає. В інших банківські картки не проходять міжнародні платежі. Розберемо, як обійти обидва перешкоди.
Навіщо потрібна підписка на Twitch
Підписка на канал працює не лише як грошова підтримка автора. Разом з нею глядач отримує кілька відчутних привілеїв.
Почнемо з реклами — у підписника вона зникає з каналу стримера, і трансляції йдуть без пауз на ролики. Далі йдуть іменні емодзі та значки. На кожному каналі зібраний свій комплект смайлів виключно для підписників, а біля ніка в чаті з'являється значок, що відрізняє вас від звичайних глядачів. І третє — відкривається доступ до закритих чатів і матеріалів для підписників, які багато авторів виносять за межі загальних ефірів.
Окрема цінність — підтримка автора напряму. Значна частина суми підписки іде стримеру, і для багатьох глядачів це головна причина підписатися. Ви допомагаєте улюбленому каналу розвиватися, а не просто купуєте функції.
Скільки коштує підписка на Twitch
Платна підписка Twitch ділиться на три рівні, які відрізняються ціною та наповненням.
Tier 1 — стартовий рівень. Сюди входить базовий комплект підписника — зняття реклами, емодзі, значок і вхід до закритого контенту. Саме з нього стартує переважна більшість.
Tier 2 — проміжний рівень. До можливостей Tier 1 додається порція ексклюзивних емодзі, яких немає на стартовому рівні. Варіант для тих, хто готовий підтримати автора більше і отримати більше унікального контенту.
Tier 3 — топовий рівень. Найвища вартість і гранично повний набір привілеїв — максимум ексклюзивних емодзі та найбільша частка підтримки стримеру. Його беруть найлояльніші глядачі каналу.
Крім платних рівнів є і безкоштовний варіант через Amazon Prime — сервіс Prime Gaming раз на місяць дарує одну підписку Tier 1, якщо у вас оформлений Amazon Prime. Щоправда, оплата самого Amazon Prime натикається на ті самі труднощі з картками, що і Twitch.
Чому не виходить оплатити Twitch
Головна складність для користувачів криптовалют — Twitch не працює з криптою. Оплатити можна лише через картку, PayPal або Amazon Pay. Прив'язати криптогаманець до підписки не можна.
Якщо ваші кошти в USDT, BTC або Ethereum, оплатити підписку напряму не вийде. Залишається або продавати крипту на біржі і проводити її через банк довгим ланцюжком із комісіями, або використовувати платіжний інструмент, який приймає крипту і працює з Twitch як звичайна картка.
Які варіанти оплати використовують користувачі
Робочих способів кілька, і підходящий залежить від того, якими коштами ви розпоряджаєтеся.
Міжнародні банківські картки
Картка банку з країни з підтримкою міжнародних операцій оплачує Twitch без проблем. Це звичайна Visa або Mastercard, і платформа приймає її як будь-яку іншу.
Для власників крипти залишається головний мінус — картка не працює з криптовалютою. Щоб оплатити нею підписку, крипту спочатку треба продати на біржі, вивести фіат у банк і лише потім прив'язати картку. Зайві кроки і втрати на комісіях на кожному етапі.
Сервіси для оплати підписок
Існують сервіси, які оформлюють підписку Twitch за вас. Ви переказуєте їм гроші зручним способом, включно з криптою, а вони оплачують підписку зі своїх коштів.
Зручність у тому, що платити можна будь-чим. Але за це ви переплачуєте — надбавка зазвичай від 15 до 30% зверху. Головна проблема таких сервісів — відсутність гарантій. Якщо сервіс зникне після отримання грошей, повернути їх майже неможливо. А криптовалютні перекази незворотні, і оскаржити транзакцію не вийде.
Платіть за підписки через Mirocard
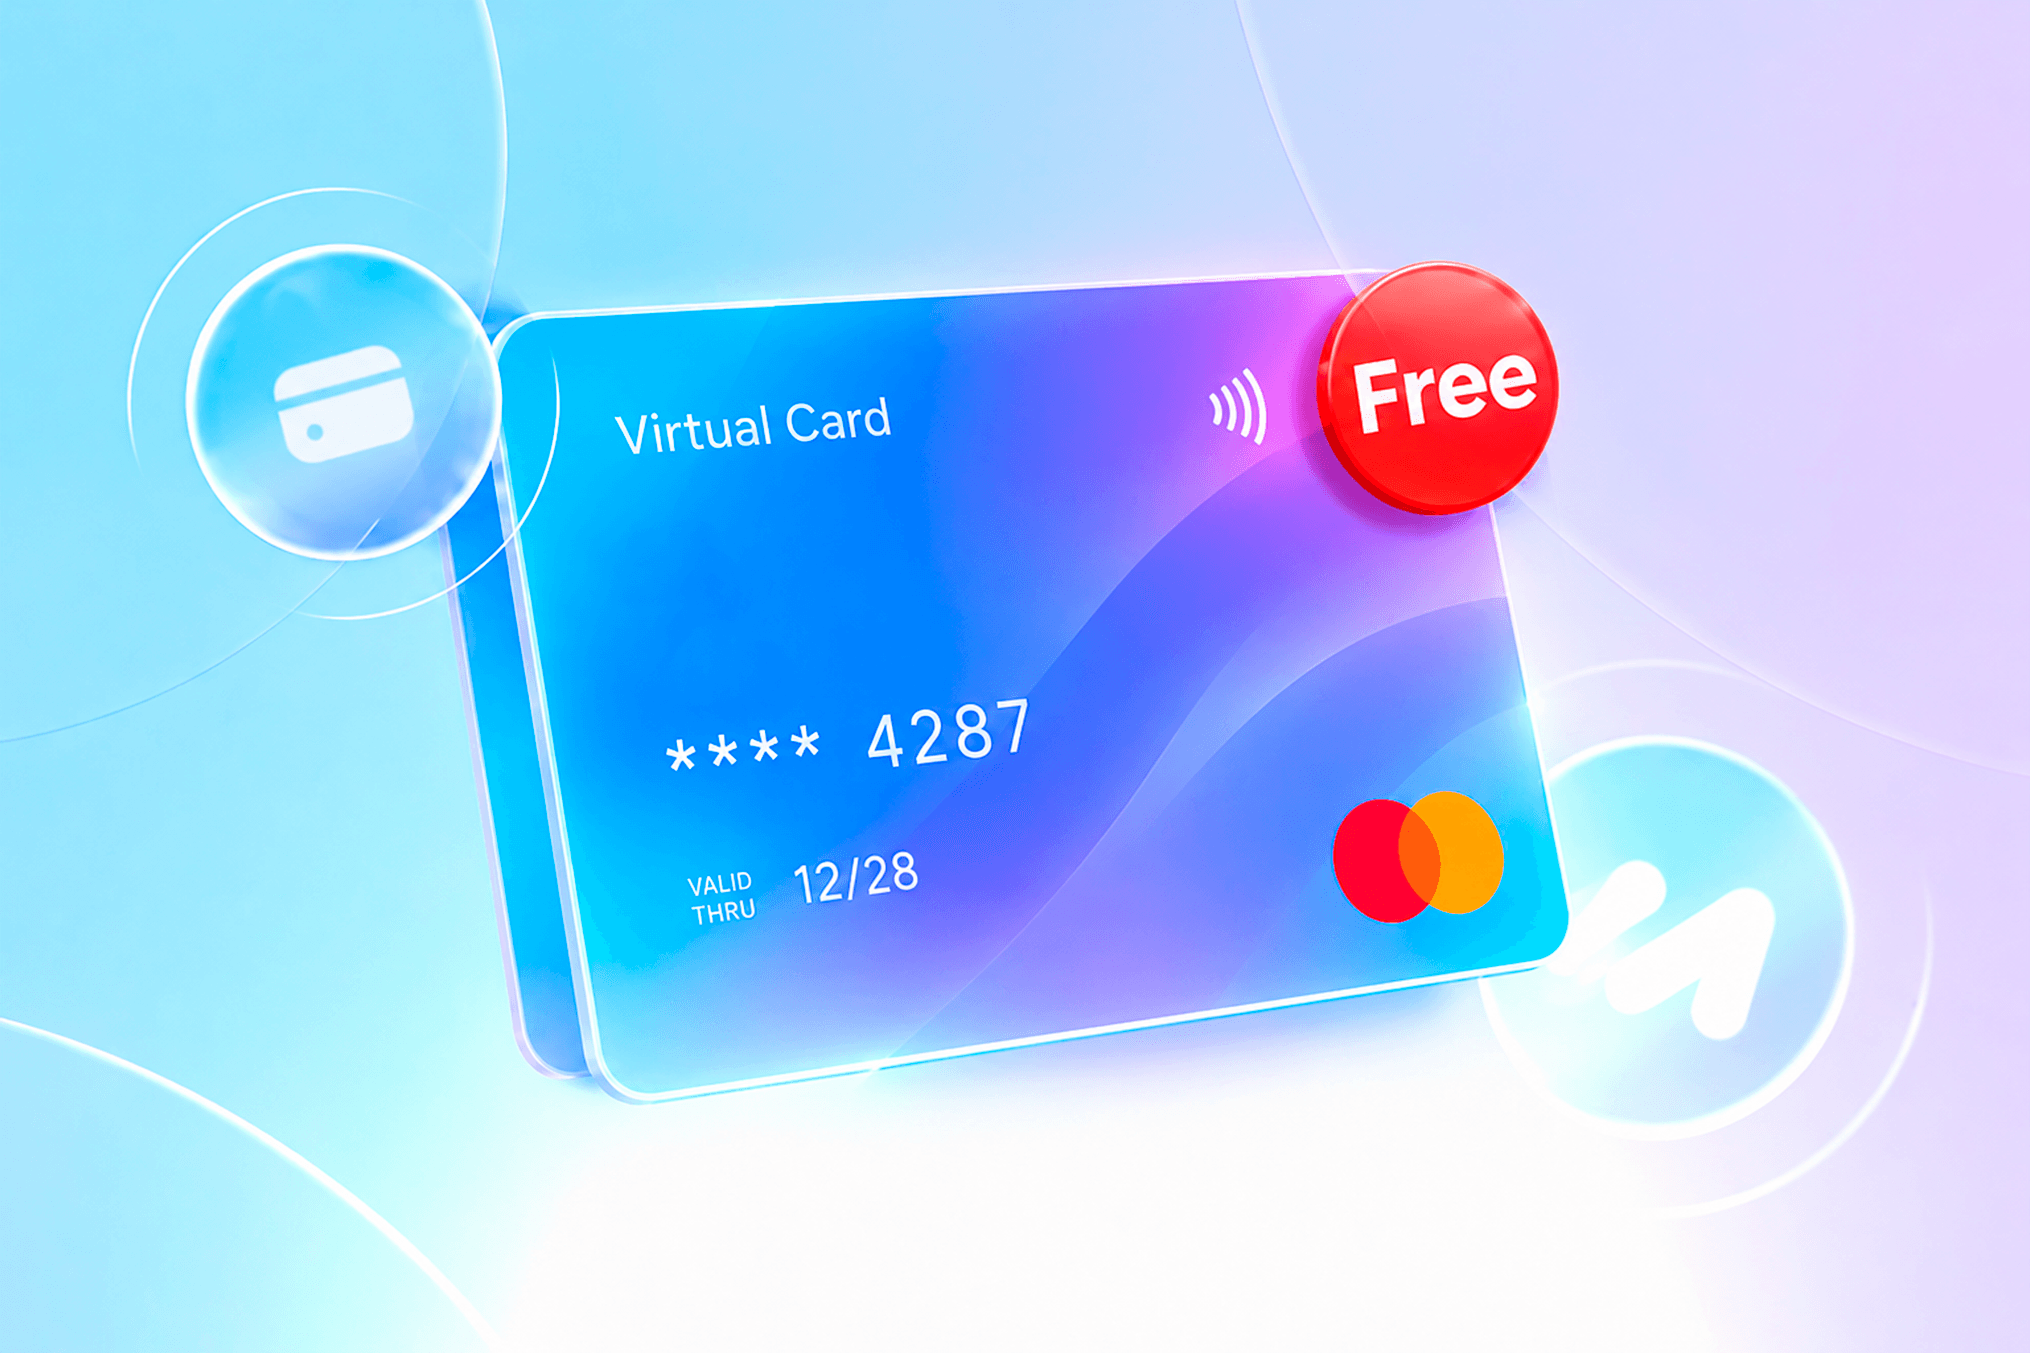
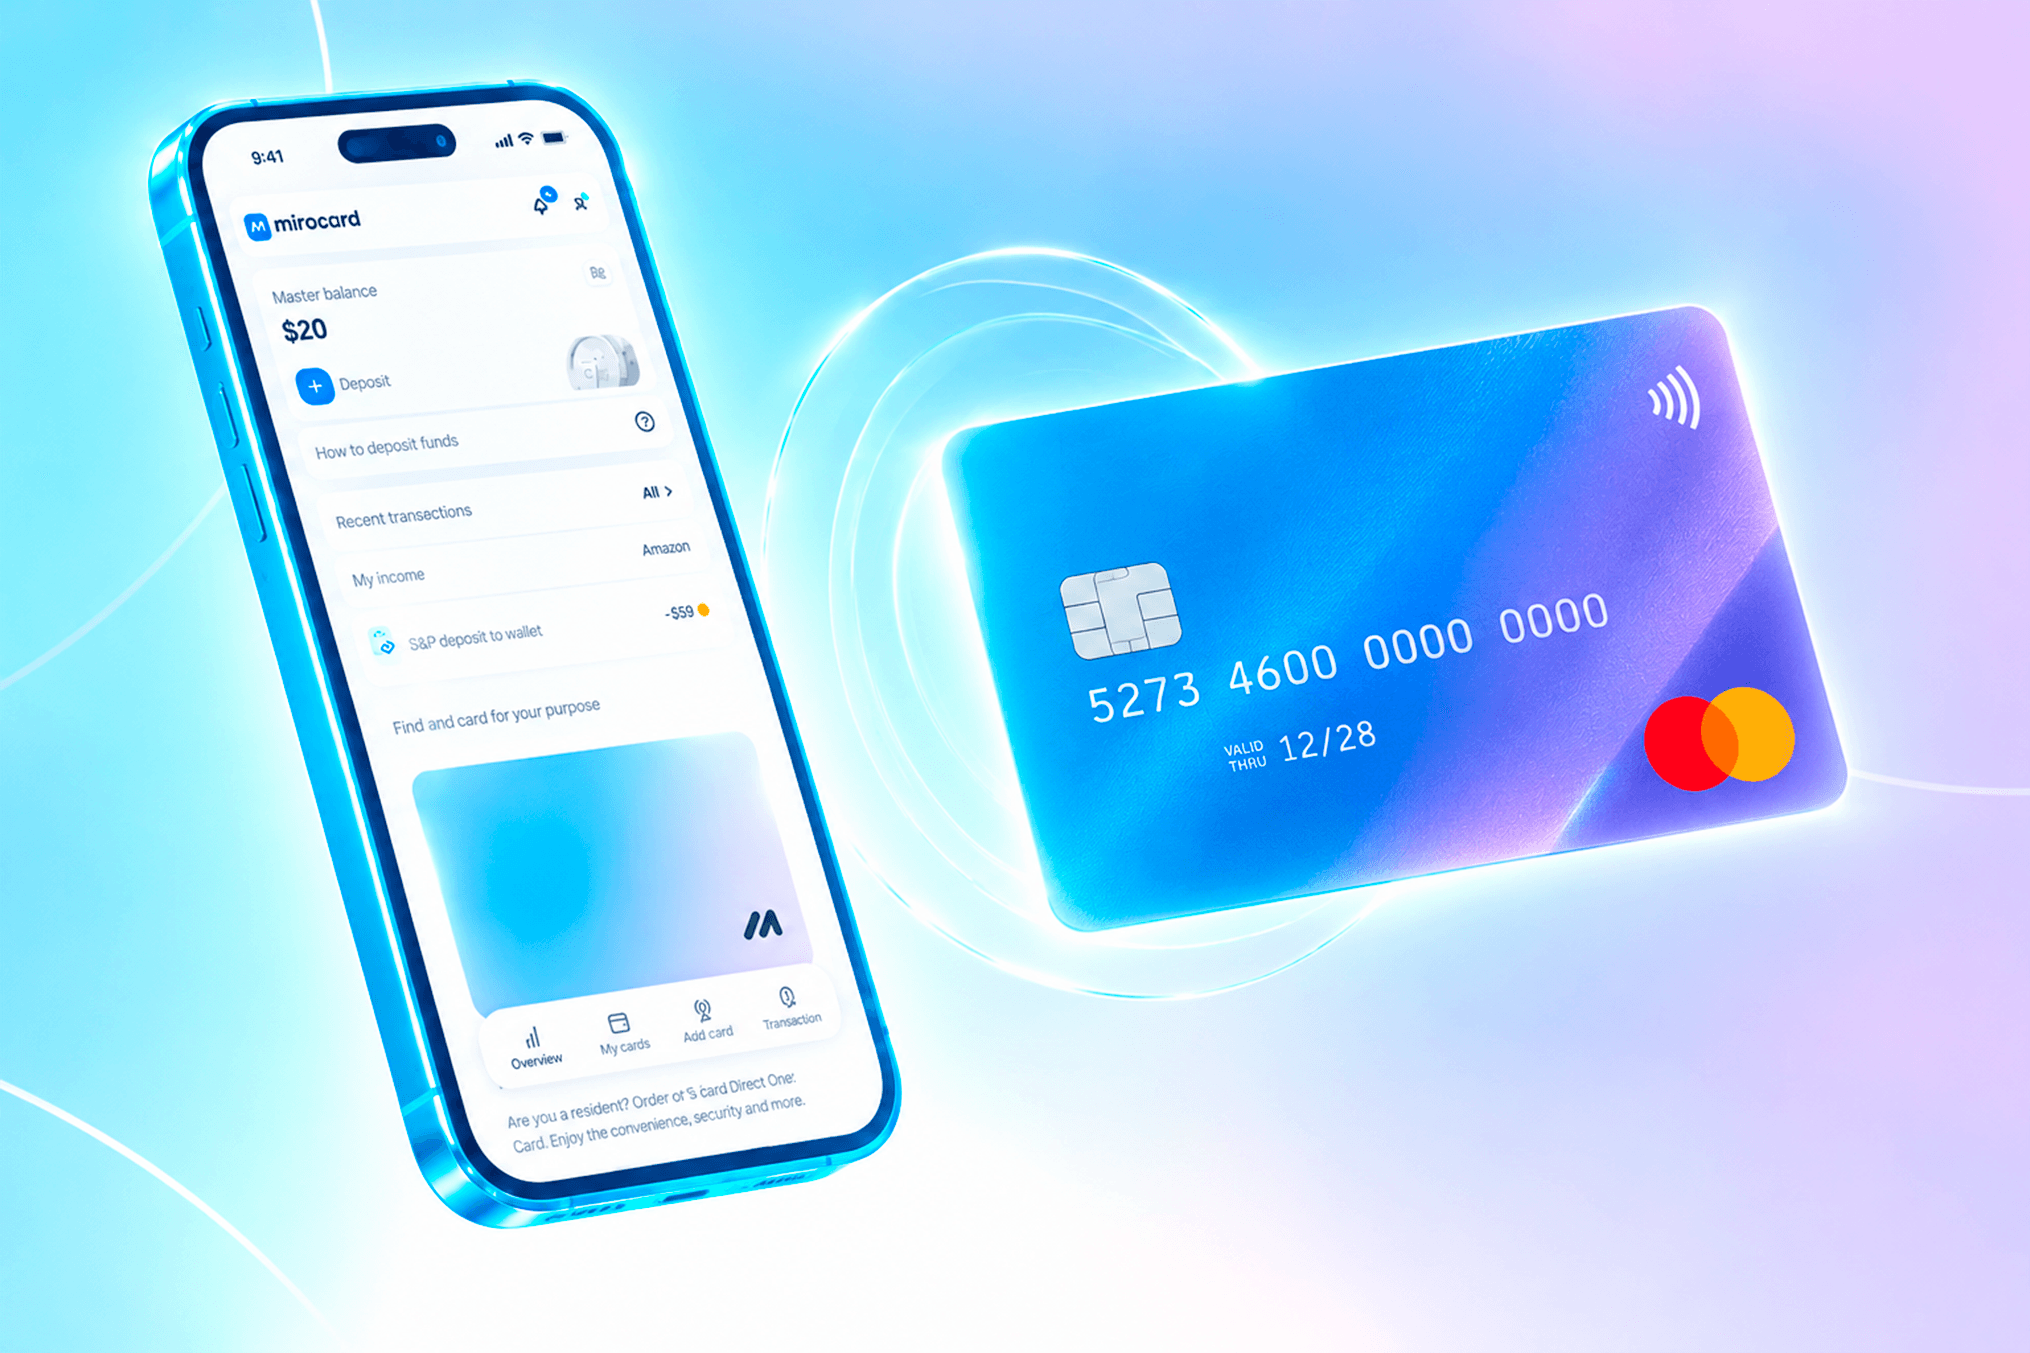
Щоб отримати доступ до онлайн-сервісів, деякі користувачі оплачують сервіси через віртуальні картки, наприклад Mirocard. Платформа випускає віртуальні картки Visa і Mastercard, баланс яких поповнюється криптовалютою, а Twitch приймає їх нарівні зі звичайними міжнародними картками.
Для оплати підписки зручна картка з категорії «для підписок». Вона розрахована на регулярні списання, тому підписка на канал продовжуватиметься автоматично без збоїв. Випуск коштує 10 доларів, комісія на поповнення — 4%. Американський BIN картки означає, що Twitch бачить її як картку зі США.
Поповнення йде через ETH, USDC, USDT, AVAX, BCH, DAI, BNB, BTC, DASH, DOGE, POL, LTC, SOL, TON, TRX, XMR. Переказ з біржі або гаманця займає кілька хвилин.
Як отримати картку Mirocard
Оформлення проходить онлайн від початку до кінця.
Крок 1. Реєстрація
Відкрийте сайт Mirocard і натисніть «Отримати картку».
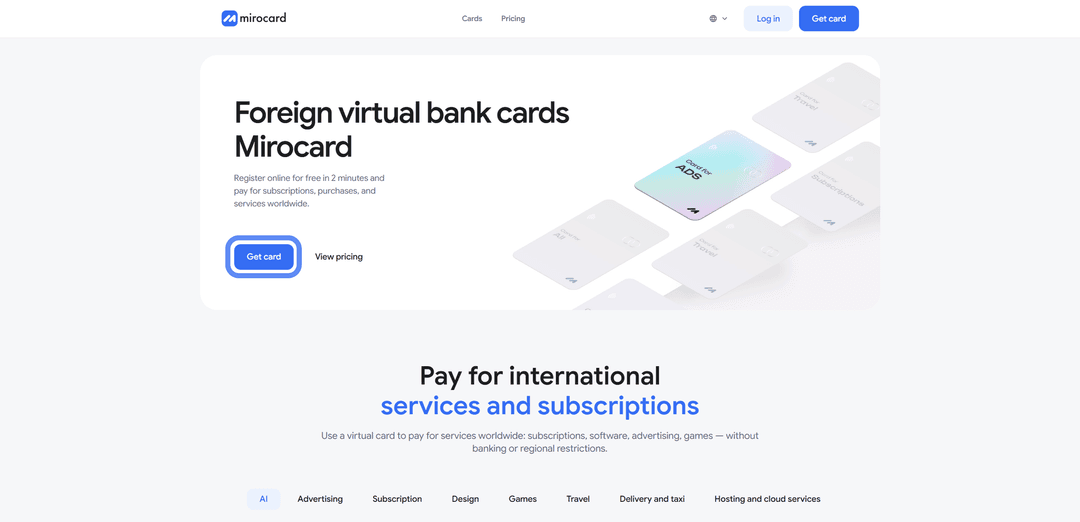
Якщо потрапляєте сюди вперше, оберіть «Зареєструватися». Знадобляться робочий email і пароль, на пошту надійде посилання-підтвердження.
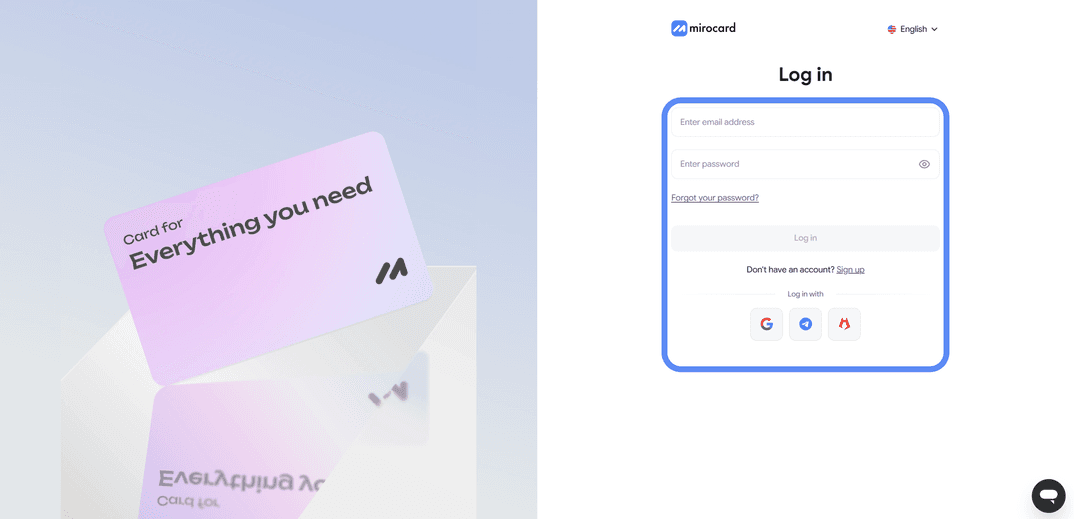
Якщо у вас є акаунт Heleket, зручніше увійти через нього — всі кошти і картки автоматично перенесуться в Mirocard.
Крок 2. Поповнення Майстер-балансу
В особистому кабінеті знайдіть блок Майстер-балансу — це спільний гаманець для оплати випуску і поповнення карток. Натисніть «Поповнити».
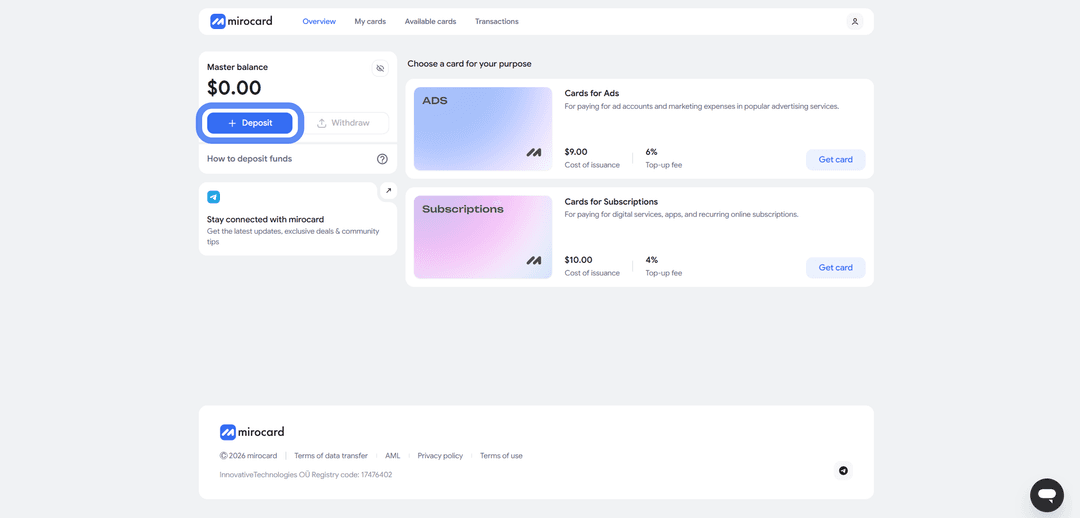
Оберіть криптовалюту і мережу.
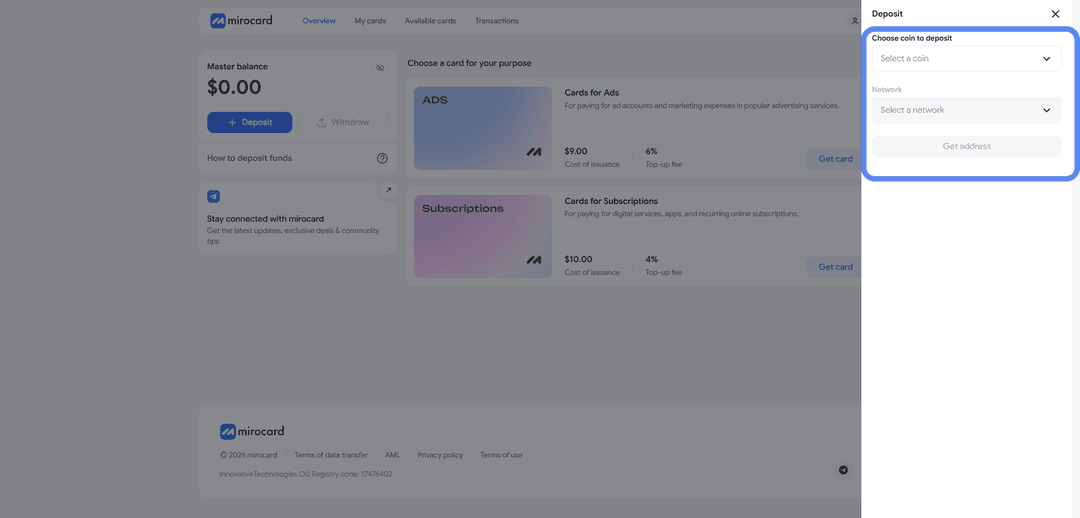
Для мінімальної комісії за переказ підійде USDT у мережі TRC-20. Натисніть «Отримати адресу» — сервіс створить унікальний гаманець, на який потрібно переказати крипту з біржі або зовнішнього гаманця. Гроші зарахуються після підтвердження транзакції в блокчейні.
Крок 3. Вибір картки
У каталозі знайдіть картку для підписок і натисніть «Отримати картку» в правій частині блоку.
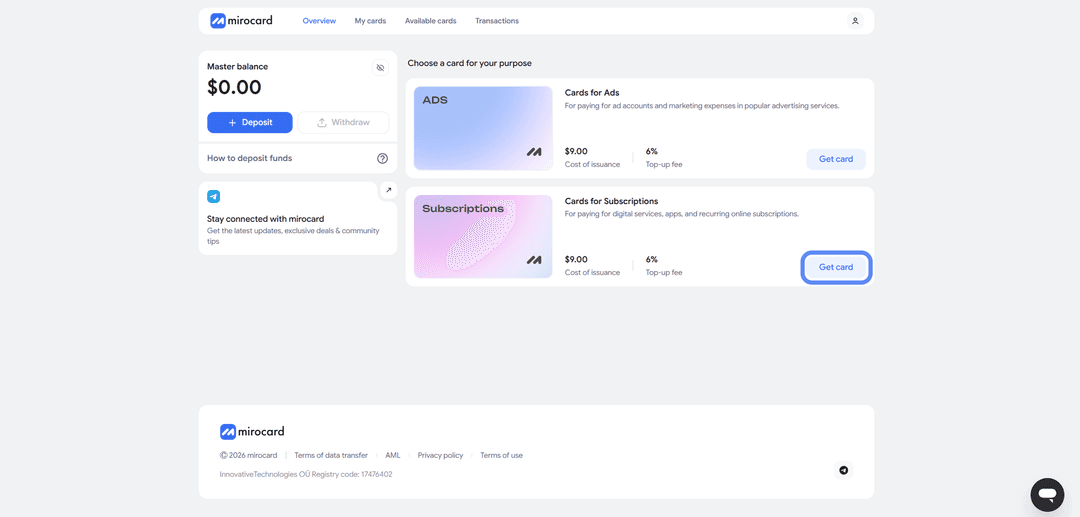
Відкриється сторінка оформлення.
Крок 4. Верифікація
Перед випуском потрібно пройти верифікацію і завантажити документи.
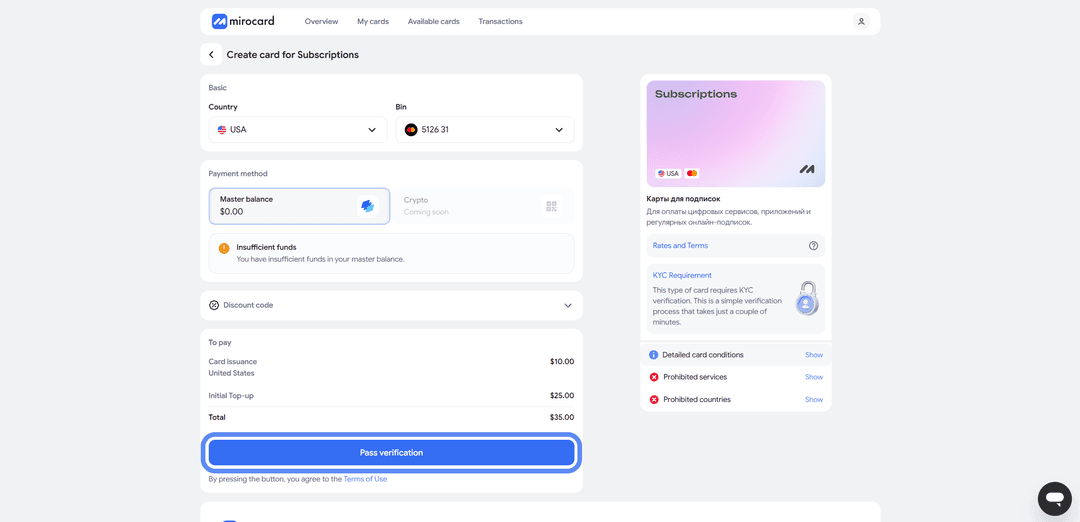
Це захист, щоб лише ви могли розпоряджатися балансом і прив'язувати нові картки. Після перевірки відкриються максимальні ліміти на поповнення та витрати.
Крок 5. Оплата випуску
На сторінці оформлення натисніть «Внести депозит і оплатити».
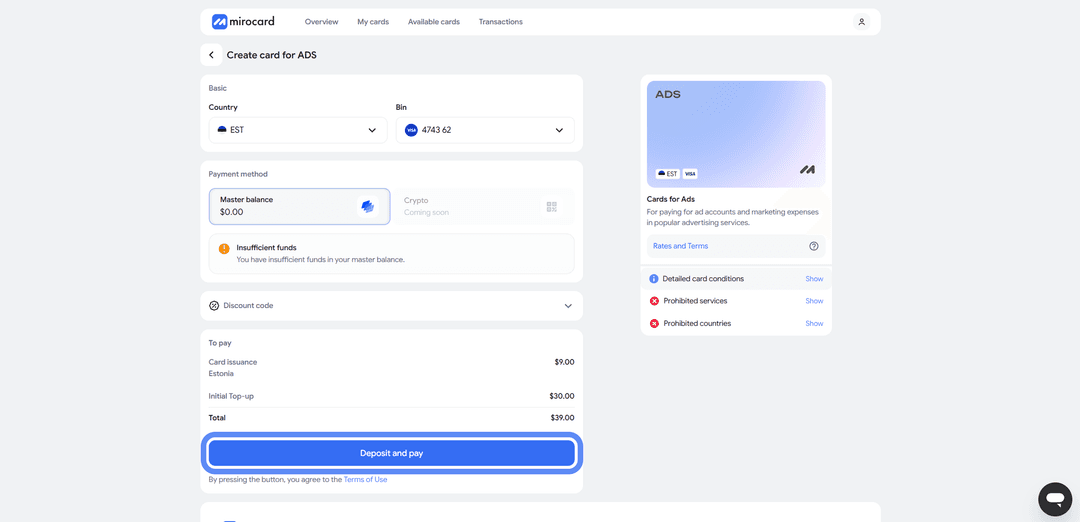
З Майстер-балансу спишеться вартість випуску — 10 доларів. Залишок потрапить на картковий рахунок і буде доступний для оплати підписки.
Крок 6. Картка готова
Картка з'явиться в особистому кабінеті з реквізитами і поточним балансом. Додаткова активація не потрібна — вона одразу приймає платежі. У кабінеті доступна історія операцій, поповнення з Майстер-балансу та заморожування картки за потреби.
Порада — тримайте на картці трохи більше вартості підписки. При оплаті Twitch може тимчасово зарезервувати суму із запасом для перевірки картки. Це преавторизація, надлишок повернеться за кілька годин. Але якщо на балансі рівно сума підписки, перевірка не пройде і платіж відхилиться. Невеликий запас знімає це питання.
Процес оплати підписки Twitch за допомогою Mirocard
Коли картка готова, оформлення підписки займає кілька хвилин.
Крок 1. Увійдіть до акаунту
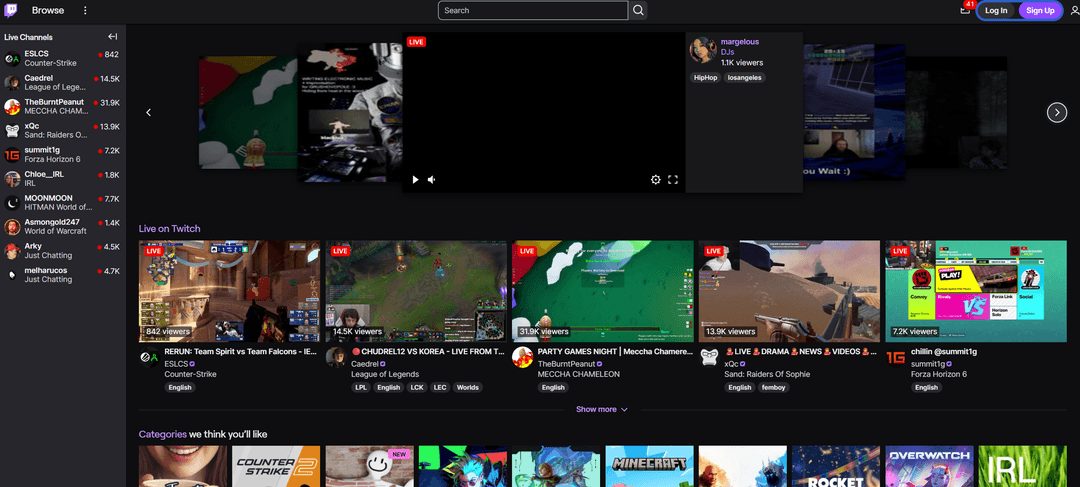
Перейдіть на Twitch.tv. Натисніть «Sign up», щоб зареєструватися, або «Log in», якщо у вас вже є акаунт.
Крок 2. Введіть дані акаунту
Авторизуйтесь — введіть логін і пароль або увійдіть через інший сервіс.
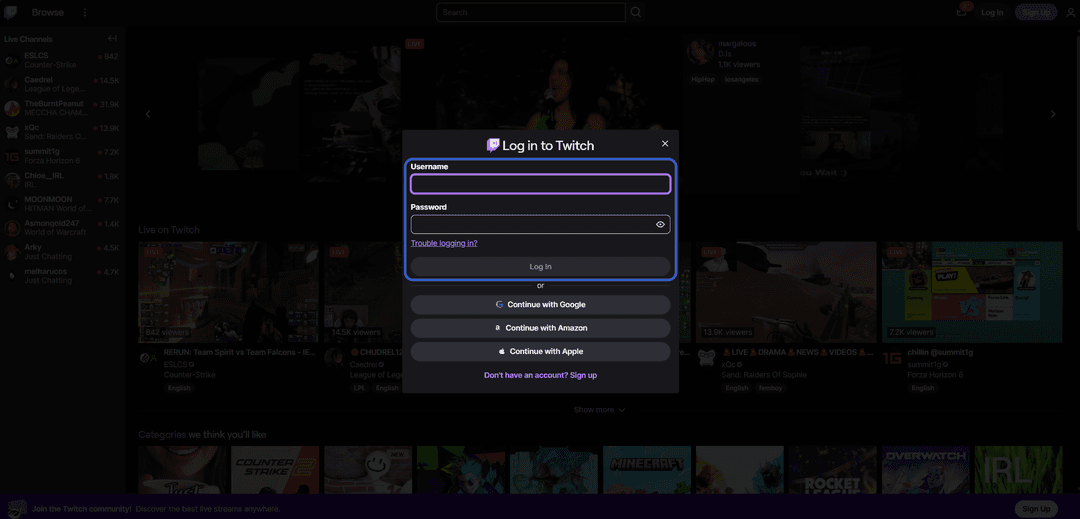
Якщо реєструєте новий акаунт, заповніть дані і підтвердіть email.
Крок 3. Знайдіть стримера
Знайдіть канал стримера, на якого хочете підписатися.
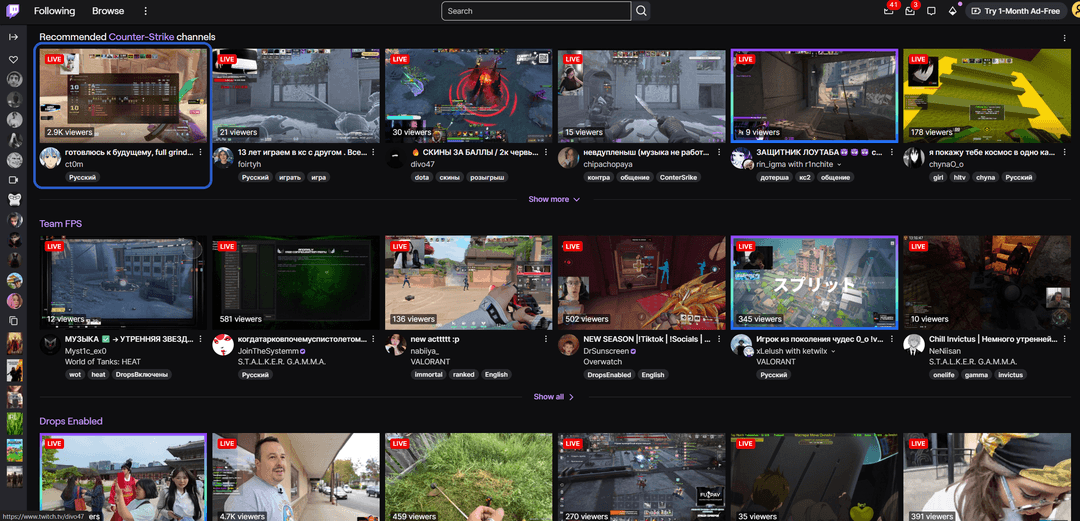
Можна використати пошук за ніком або знайти канал через категорії та рекомендації.
Крок 4. Натисніть Subscribe
На сторінці каналу натисніть кнопку «Subscribe».
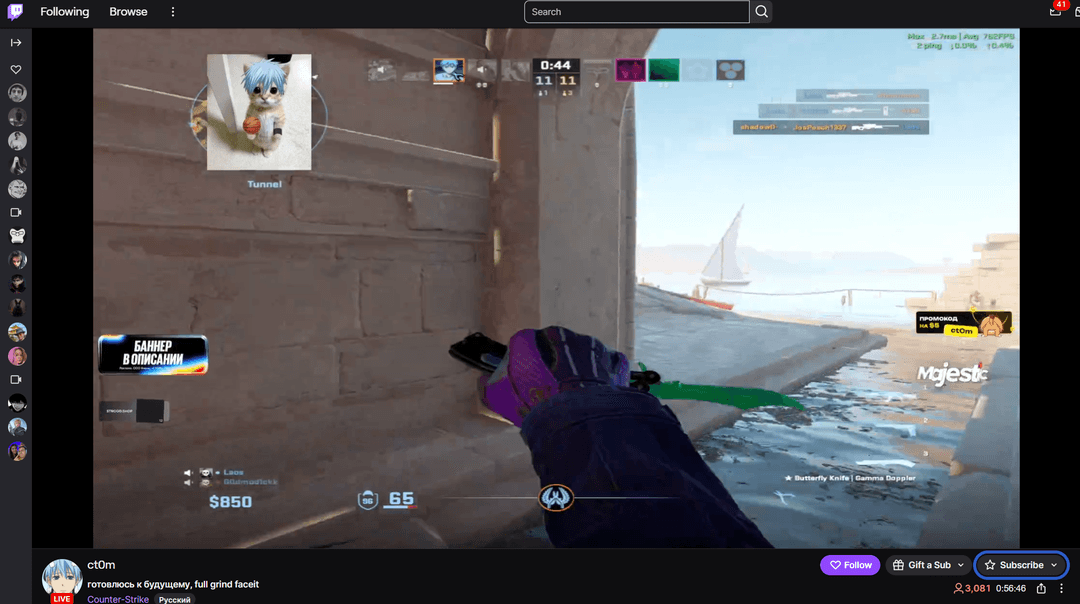
Відкриється вікно з вибором рівня підписки — Tier 1, Tier 2 або Tier 3. Оберіть підходящий рівень.
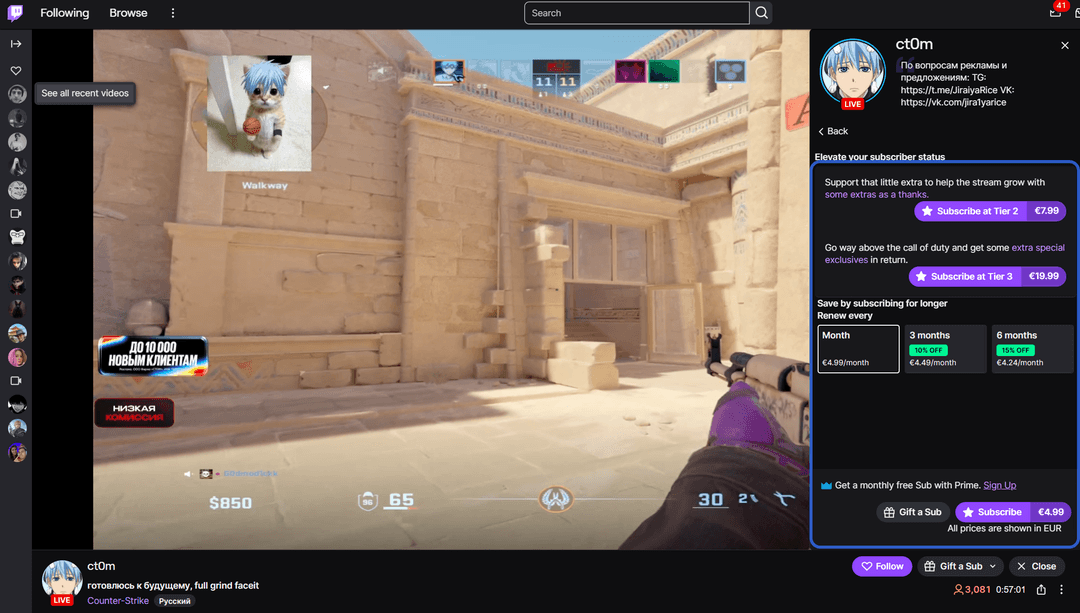
Крок 5. Підтвердіть вибір
Ще раз натисніть «Subscribe» для переходу до оплати. Twitch покаже підсумкову суму і форму оплати.
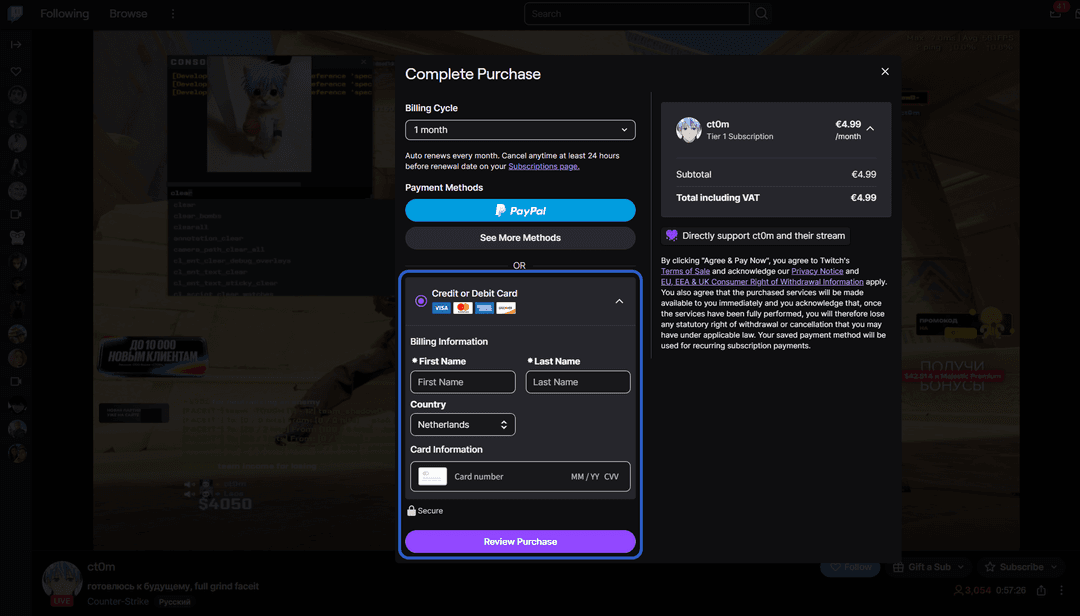
Крок 6. Введіть дані картки
Заповніть платіжну форму реквізитами віртуальної картки Mirocard — номер, термін дії, CVV і ім'я власника. Всі дані є в особистому кабінеті Mirocard. У полі адреси можна вказати будь-яку реальну адресу — Twitch не робить суворої перевірки відповідності.
Крок 7. Підтвердіть платіж
Натисніть кнопку підтвердження. Платіж проходить одразу, і підписка активується миттєво. Далі вона продовжується автоматично щомісяця. Скасувати продовження можна будь-коли в налаштуваннях акаунту.
Якщо платіж не пройшов
Перевірте баланс картки з урахуванням преавторизації. Переконайтеся, що реквізити введені правильно, особливо CVV. Якщо все правильно, але платіж відхиляється, повторіть спробу через кілька хвилин. Іноді антифрод Twitch тимчасово блокує незнайомі операції, і повторна спроба проходить без проблем.
Поширені помилки при оплаті
При оплаті Twitch деякі користувачі обирають шляхи, які призводять до втрати грошей або акаунту. Кілька ситуацій, яких варто уникати.
Використання неперевірених посередників. Сервіси з підозріло низькими цінами часто оплачують підписки вкраденими картками або зі зламаних платіжних акаунтів. Коли Twitch виявляє шахрайство, підписку анулюють, а ваш акаунт може отримати обмеження. Гроші при цьому не повертаються.
Купівля послуг через сумнівні майданчики. Оголошення про «дешеві підписки Twitch» на форумах і в месенджерах часто виявляються обманом. Після оплати продавець або зникає, або надає підписку, яка відвалюється через кілька днів. Повернути гроші зазвичай неможливо.
Передача даних акаунту третім особам. Якщо хтось пропонує оформити підписку «через ваш акаунт» і просить логін з паролем — це прямий ризик. Отримавши доступ, шахрай може змінити пошту і пароль, забрати акаунт собі. Відновити його потім украй складно.
Купівля готових акаунтів з підписками. Іноді продають акаунти Twitch з уже оформленими підписками або рідкісними значками. Такі акаунти часто прив'язані до чужих даних або куплені шахрайським шляхом — їх будь-коли можуть заблокувати або повернути попередньому власнику. Гроші ви втратите.
Найбезпечніше платити зі своєї картки і свого акаунту. Віртуальна картка вирішує це питання — вона ваша, і передавати дані будь-кому ззовні не потрібно.
Висновок
Оплатити підписку Twitch можна кількома способами. Міжнародна банківська картка працює напряму, але потребує складного оформлення і не підходить для оплати криптою. Сервіси-посередники беруть надбавку і не дають гарантій. Віртуальна картка закриває потреби обох аудиторій — і тих, хто хоче платити криптою, і тих, у кого немає доступу до стандартних міжнародних карток.
Mirocard у цій зв'язці працює як звичайна банківська, але поповнюється криптовалютою. Налаштували один раз — і підтримуєте улюблених стримерів напряму з криптогаманця, без виведення у фіат через біржі. Та сама картка оплачує Netflix, Spotify, Discord Nitro та інші сервіси.
Для власників криптовалюти це найкоротший шлях від криптоактивів до підписки. А для тих, кому недоступні звичайні міжнародні картки, віртуальна картка залишається надійним способом підтримати авторів на Twitch.