How to Pay for a Spotify Premium Subscription with Cryptocurrency
#Payment Instructions
Spotify Premium Plans
Spotify offers several paid subscription options designed for different situations.
Family — a plan for a family of up to six people at the same address. Six separate accounts, parental controls, and a dedicated Spotify Kids service with safe content. The most economical option per person if there are several of you.
Student — a discounted plan for university students. The same features as Individual, but at a lower price. You need to verify your student status through a verification service.
Prices vary from country to country — Spotify sets them based on local market conditions. In some regions the subscription is noticeably cheaper, so the account region affects the final cost.
Why Direct Payment Can Be Complicated
The main obstacle for cryptocurrency users is a single one — Spotify does not accept crypto. Payment is only possible via bank cards, PayPal, or country-specific local payment services. A crypto wallet cannot be linked to a subscription.
There is a second layer of complications — regional restrictions. Spotify checks for consistency between the account country, the card region, and the connection location. If the parameters do not match, the payment may be declined even with a technically valid card. This is a protective mechanism against bypassing regional prices, but it sometimes triggers for legitimate users too.
What Payment Methods Users Choose
There are several working options, and the right one depends on what funds you have available.
International Bank Cards
A card from a bank in a country with active international operations pays Spotify without issues. Technically it is a regular Visa or Mastercard, and the service accepts it like any other.
The difficulty lies in obtaining such a card. Banks in most countries only open accounts with a personal visit, proof of address, and sometimes tax residency. And the key point for crypto holders — such a card does not work with cryptocurrency. To pay for a subscription with it, crypto assets must first be sold on an exchange, fiat withdrawn to an account, and only then the card connected. Extra steps, extra fees, extra time.
Spotify Gift Cards
Spotify issues gift cards for a fixed amount. The code from such a card is activated in the account and applied toward the subscription payment.
The method bypasses a bank payment entirely — only the code is needed. But there are limitations. Spotify gift cards are not available in all countries and only work for accounts in the corresponding region. They cannot be used for Duo or Family plans in some regions, and the denominations are fixed. Gift cards can be purchased from official sellers or code marketplaces, but with a markup.
Virtual Cards
A virtual card is a bank card without the plastic. It has a number, expiry date, and CVV — this is enough to pay for Spotify. The service accepts such cards on a par with physical ones.
Some virtual card services accept cryptocurrency top-ups. For crypto asset holders, this is the shortest path — crypto goes onto the card, and from there a regular payment goes to Spotify. No exchanges, no bank accounts, no multi-step conversions. The card is issued online in a few minutes and can be linked to a subscription with auto-renewal.
Mirocard — A Way to Pay for Spotify Premium with Cryptocurrency
Mirocard provides virtual cards for paying for online services and subscriptions. The cards are issued under Visa and Mastercard, topped up with cryptocurrency, and accepted by Spotify as regular international cards.
The card is topped up via ETH, USDC, USDT, AVAX, BCH, DAI, BNB, BTC, DASH, DOGE, POL, LTC, SOL, TON, TRX, XMR. A transfer from an exchange or wallet takes a few minutes.
Issuing a Mirocard Card
The issuance process takes place online and usually takes less than half an hour.
Step 1. Registration
Open the Mirocard website and click "Get a Card."
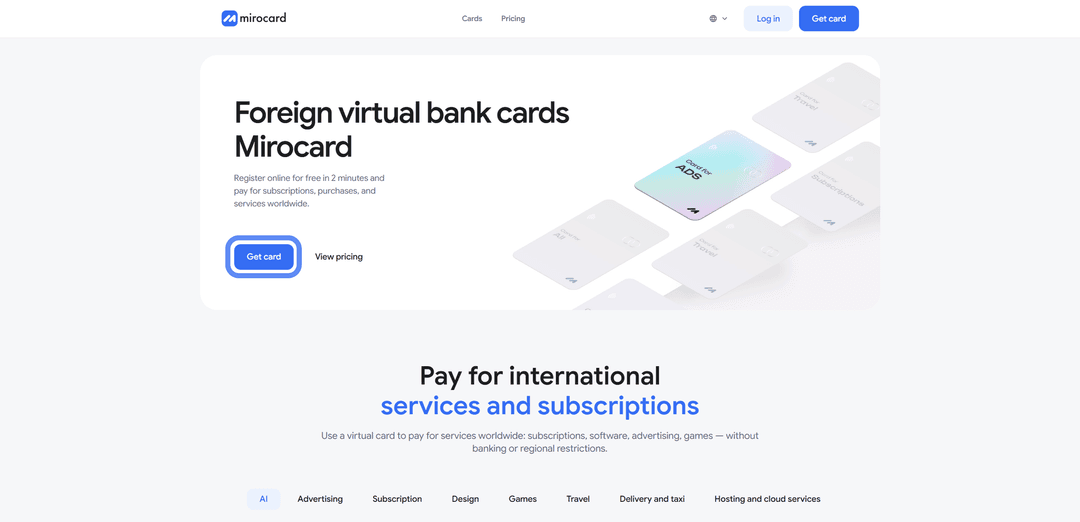
First time on the platform — select "Register."
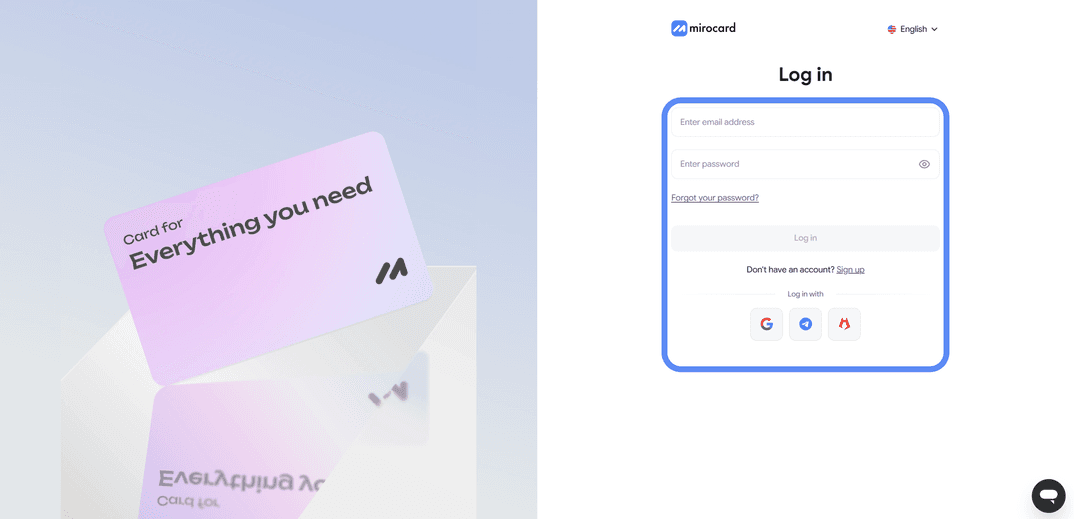
You will need a working email and password — a confirmation link will be sent to the email. If you already have a Heleket account, it is better to log in through it — all funds and cards will transfer to Mirocard automatically.
Step 2. Top Up the Master Balance
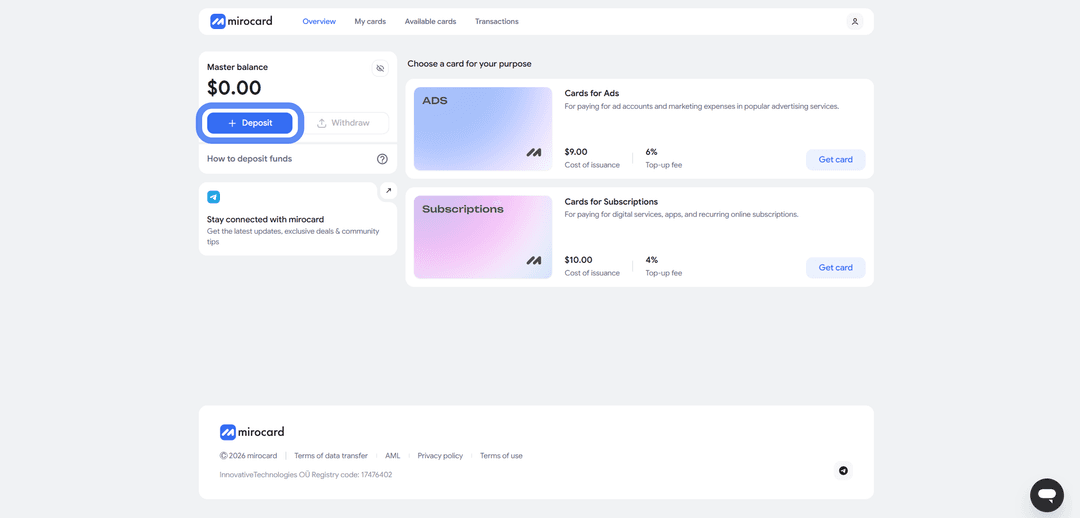
Select a cryptocurrency and network.
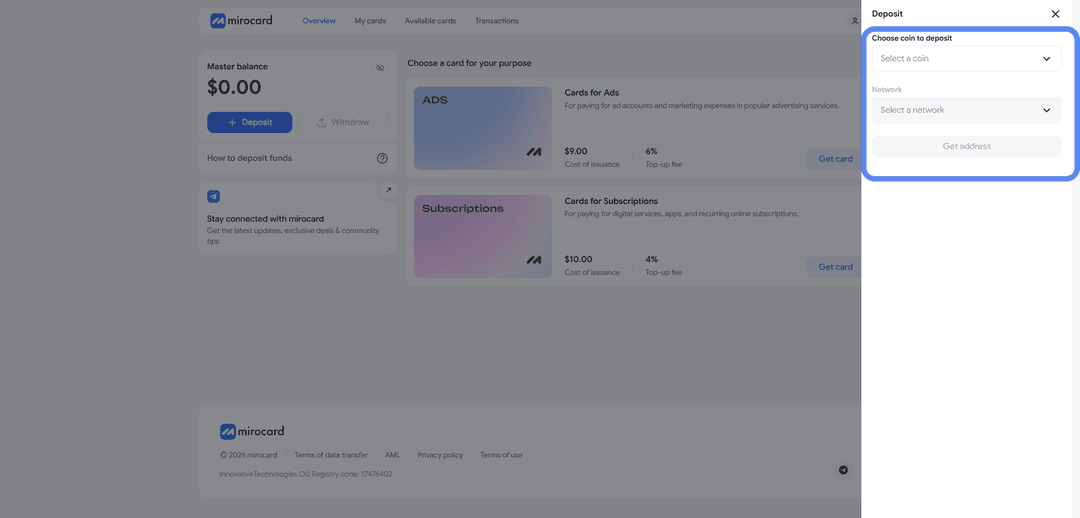
For the lowest transfer fee, USDT on the TRC-20 network is the best choice. Click "Get Address" — the service will create a unique wallet to which you need to transfer crypto. Funds will be credited after the transaction is confirmed on the blockchain.
Step 3. Choose a Card
In the catalog, find the subscriptions card and click "Get Card" on the right side of the block.
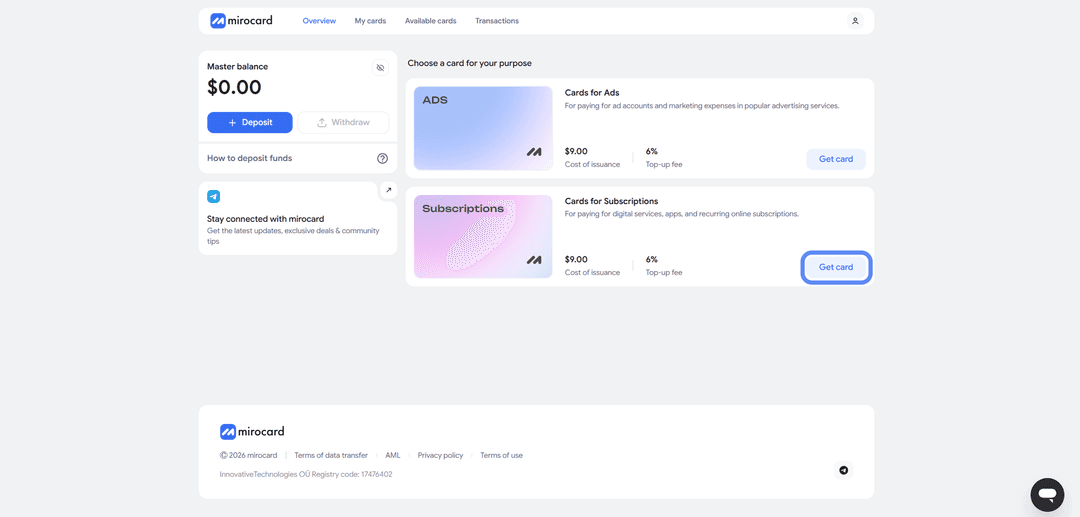
The issuance page will open.
Step 4. Verification
Before issuance, you need to complete verification and upload documents.
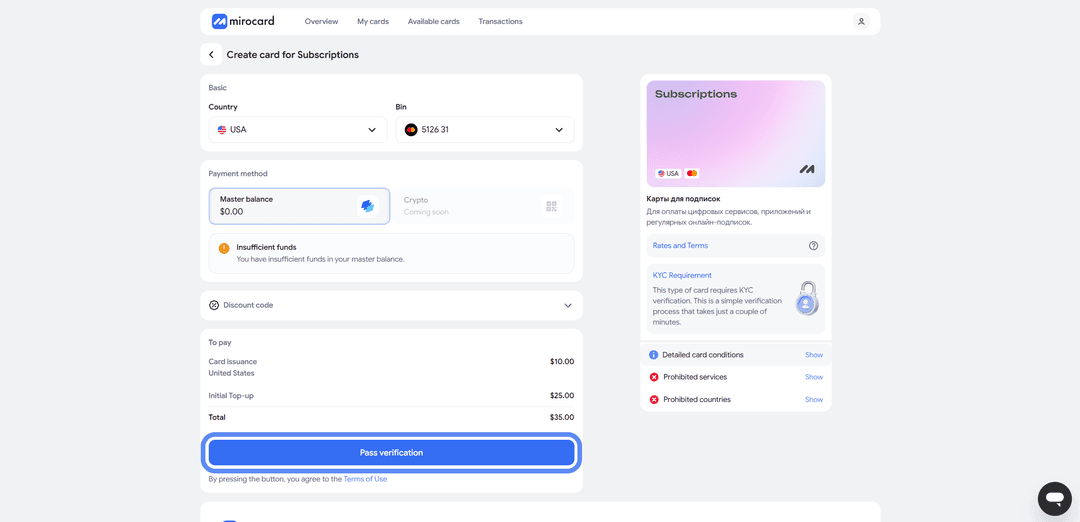
This ensures that only you can manage the balance and link new cards. After the review, maximum top-up and spending limits will become available.
Step 5. Pay for Issuance
On the issuance page, click "Deposit and Pay."
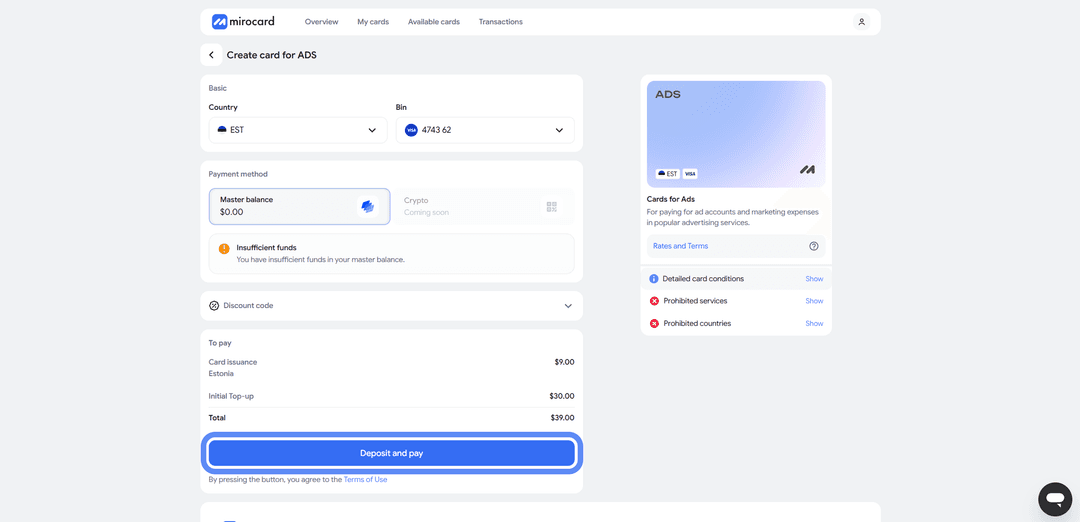
The issuance fee of $10 will be deducted from the Master Balance. The remaining amount will go to the card account and be available for paying the subscription.
Step 6. The Card Is Ready
The card will appear in your personal account with its details and current balance. No additional activation is needed — it accepts payments right away. Transaction history, top-up from the Master Balance, and card freezing are all available in the account.
A tip — keep a little more on the card than the subscription costs. When first paying Spotify, the service may temporarily reserve a slightly larger amount to verify the card. This is a pre-authorization; the excess will be returned within a few hours. But if the balance is exactly the subscription amount, the check will not go through and the payment will be declined. A small buffer takes care of this.
How Paying for Spotify Premium via Mirocard Works
Once the card is ready, setting up the subscription takes a couple of minutes.
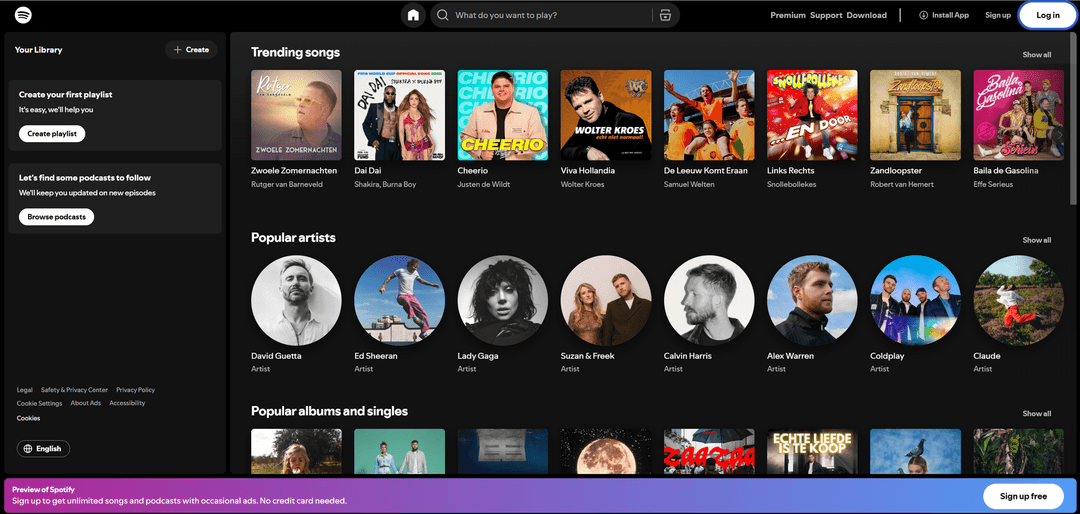
Step 1. Log Into Your Account
Go to Spotify and click "Sign up" to register, or "Log in" if you already have an account.
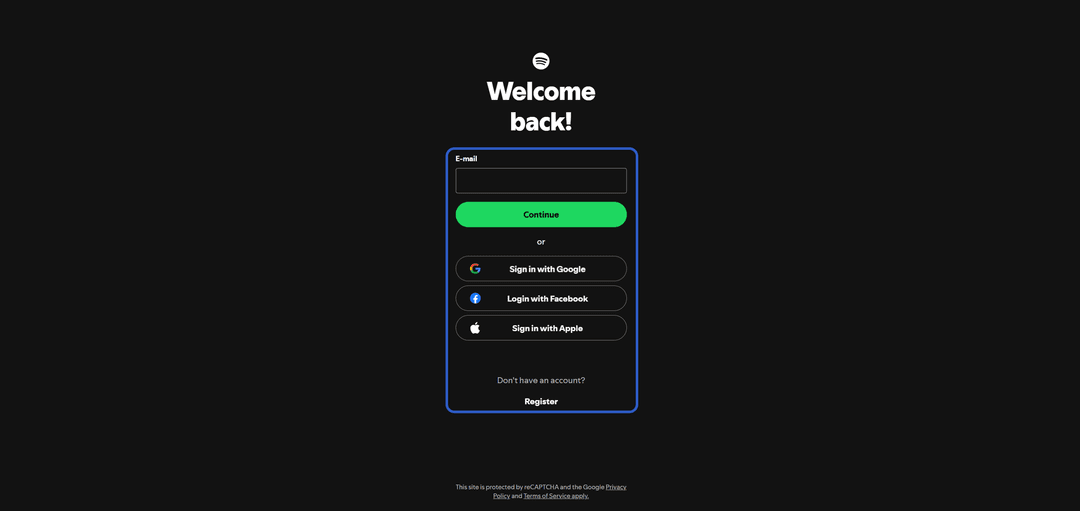
Step 2. Enter Account Details
Authenticate — enter your email and password or log in via a linked service. If registering a new account, fill in the details and confirm your email.
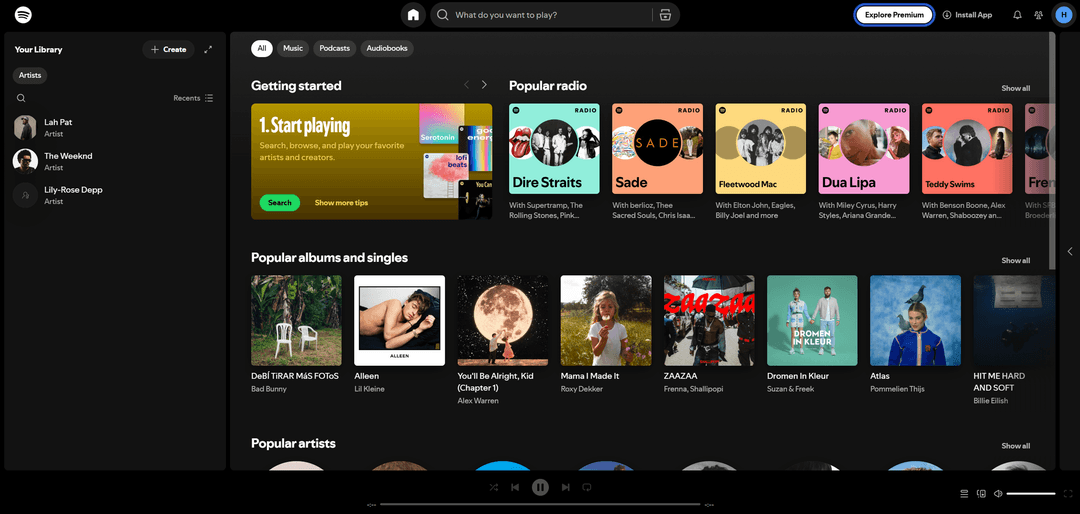
Step 3. Open the Premium Section
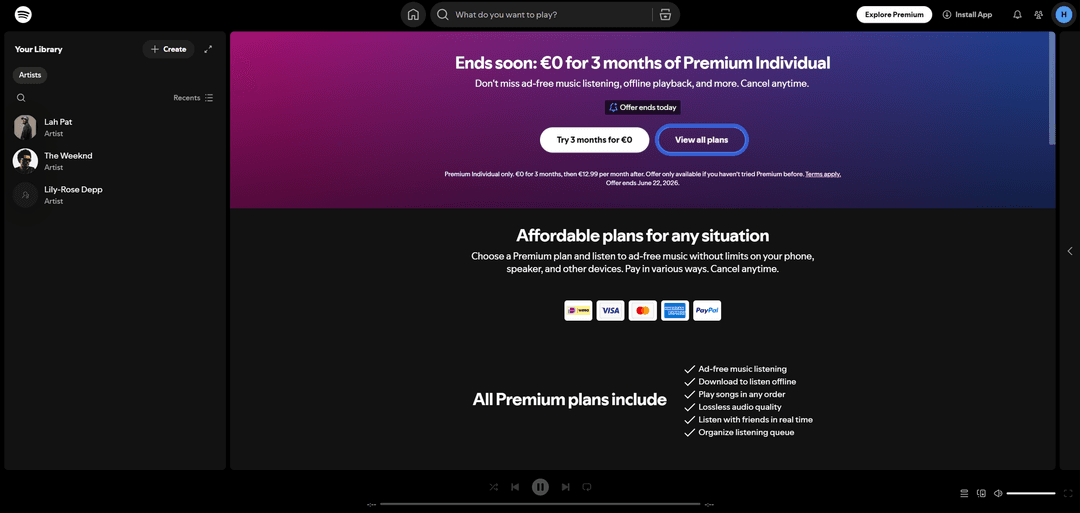
Step 4. Open the Plans List
Click "View all Plans" to see all available plans — Individual, Duo, Family, and Student with prices and descriptions.
Step 5. Choose a Plan
Select the plan that suits you and click the sign-up button below it. Spotify will redirect you to the payment page.
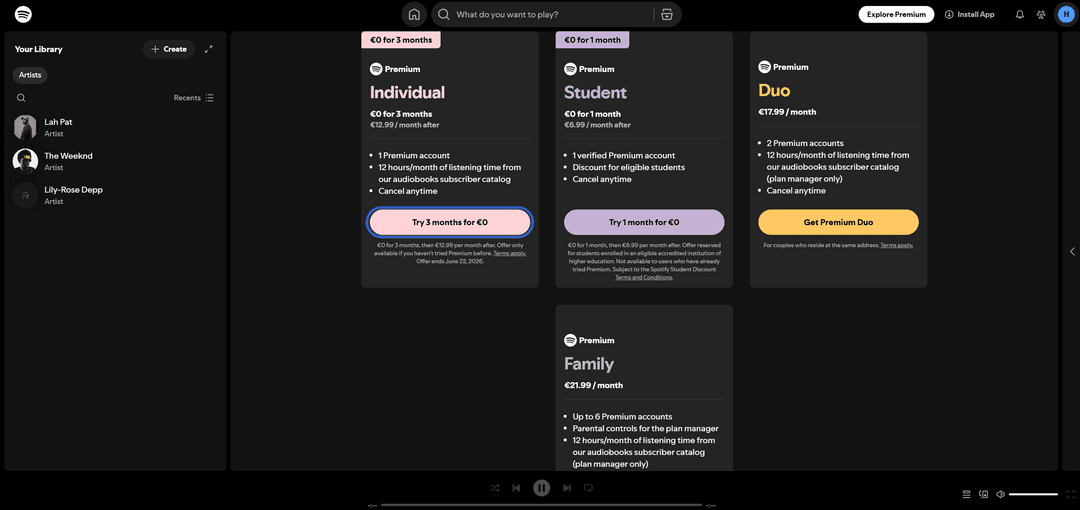
Step 6. Fill In Payment Details
On the payment page, select the bank card payment option from the available methods.
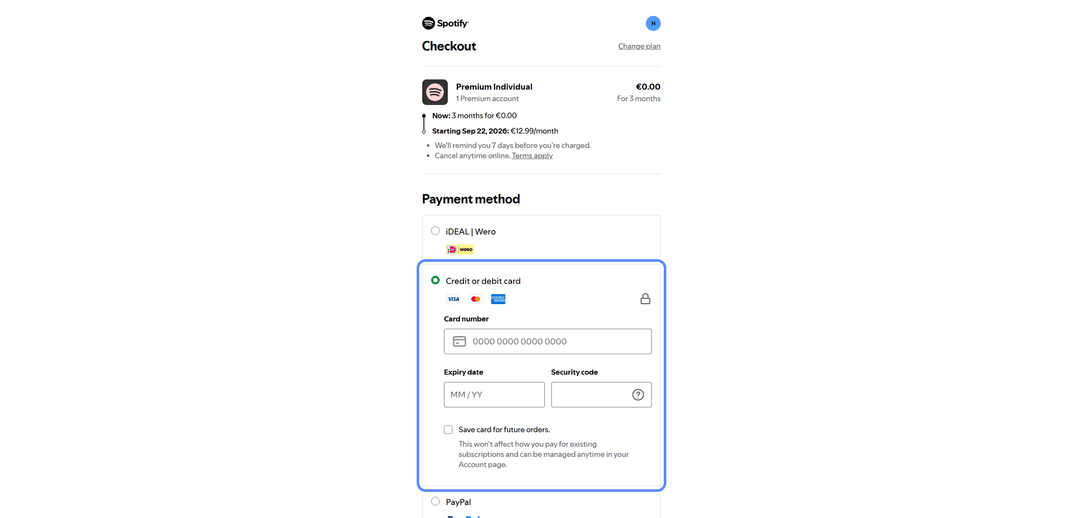
Fill in the fields with your Mirocard card details — number, expiry date, CVV, and cardholder name. All data is available in your Mirocard personal account. Any real US address can be entered in the billing address field.
Step 7. Confirm the Payment
Click the confirmation button.
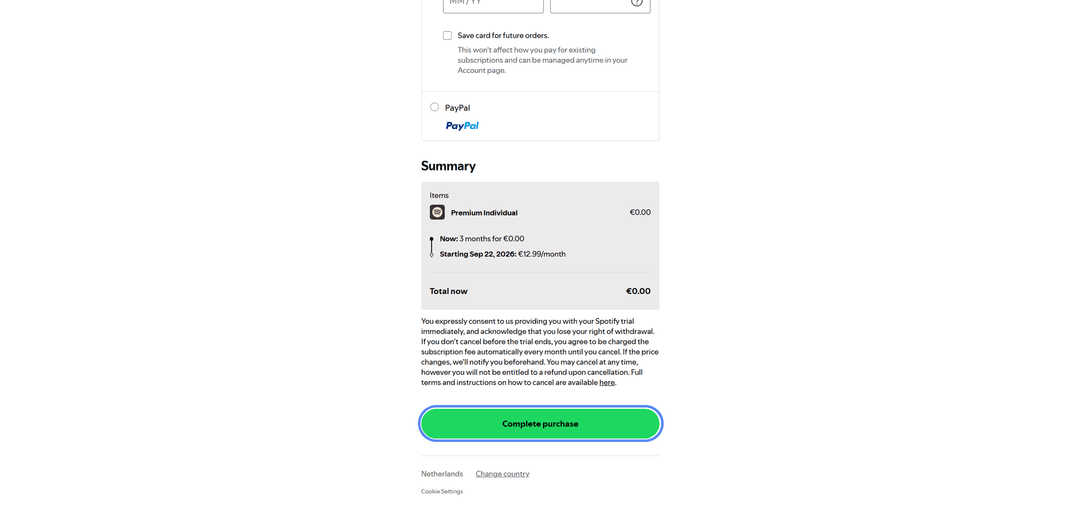
If the Payment Fails
Check the card balance accounting for the pre-authorization. Make sure the details were entered correctly, especially the CVV. If everything is correct but the payment is declined, check that the Spotify account region matches the card's country — a region mismatch is a frequent reason for declines specifically on Spotify. If needed, try repeating the payment after a few minutes.