How to Pay for an Gemini Subscription with Cryptocurrency
Gemini now has a whole lineup of paid plans, and for many people, paying for one has become a real hassle. Google doesn't take cryptocurrency, its checkout declines cards from many countries, and the price on top of that depends on the country tied to your payment profile. Here's what the plans offer, why payment fails, and how to set up a subscription with a crypto-funded virtual card.
What a Gemini Subscription Gets You
The paid plan removes the free version's limits across four areas.
More powerful models. Free access is limited to the base model, while a subscription unlocks the higher-tier ones. The mid-tier plan gives you a fast model with a reasoning mode, and the higher tiers add the Pro model with expanded capabilities for math and coding. The top plan adds Deep Think, the most advanced deep-analysis mode.
Higher limits. Google scales limits as a multiple of the free tier — the entry-level paid plan gives twice as many requests, the mid-tier plan four times as many, and the top tier raises the bar another five times over the mid-tier. If you keep hitting limits partway through your workday, this is the main argument for subscribing.
Expanded features for text, code, and files. Starting at the mid-tier plan, Deep Research unlocks — a mode where Gemini researches a topic across many sources on its own and puts together a report. That's also where video generation and access to tools like Google Flow show up. The model works with uploaded documents and code noticeably more thoroughly than in the free version.
The price depends on the country tied to your payment profile, so the same plan costs different amounts in different regions. As a benchmark, the entry plan runs about $8 a month, the mid-tier around $20, and the top tier starts at around $100. Paying annually saves about 16%.
Comparing Google AI Plans
| Parameter | Google AI Plus | Google AI Pro | Google AI Ultra | |
|---|---|---|---|---|
| Price per month | Google AI Plusabout $8 | Google AI Proabout $20 | Google AI Ultrafrom $100 | |
| Limits | Google AI Plus2x the free tier | Google AI Pro4x the free tier | Google AI Ultra5x the Pro plan | |
| Model | Google AI Plusfast Flash reasoning model | Google AI Prohigher-tier Pro model with extended reasoning | Google AI Ultraexpanded Pro model access and Deep Think mode | |
| Storage | Google AI Plus400 GB | Google AI Pro5 TB | Google AI Ultra20 TB | |
| Key features | Google AI Plusnext-gen base AI tools | Google AI ProDeep Research, video generation, Google Flow | Google AI UltraGoogle's most advanced tools, priority access | |
| Who it's for | Google AI Plusyou hit the free limits but don't use AI daily | Google AI Proyou work with Gemini every day — development, analytics, marketing | Google AI Ultraheavy production, streaming video work, team tasks |
How Mirocard Can Help
Mirocard issues Visa and Mastercard virtual cards funded with cryptocurrency. For Gemini, that closes both obstacles at once — you pay straight from your crypto wallet, and Google sees an ordinary international card.
The card is built for recurring charges, so the subscription renews on its own and doesn't fail the following month. Issuing it costs $10, and the top-up fee is 4%. You can fund the card with major coins, including BTC, ETH, USDT, and USDC, and crediting takes minutes once the network confirms the transfer.
One detail is specific to Google. Before issuing your card, check which country your payment profile is tied to, and pick a card for that region. Matching the card's country to your profile matters more here than with most other services, because Google checks them directly against each other.
How to Pay for Gemini with a Mirocard Virtual Card
First you issue the card, then you link it to your Google account.
Getting the Card
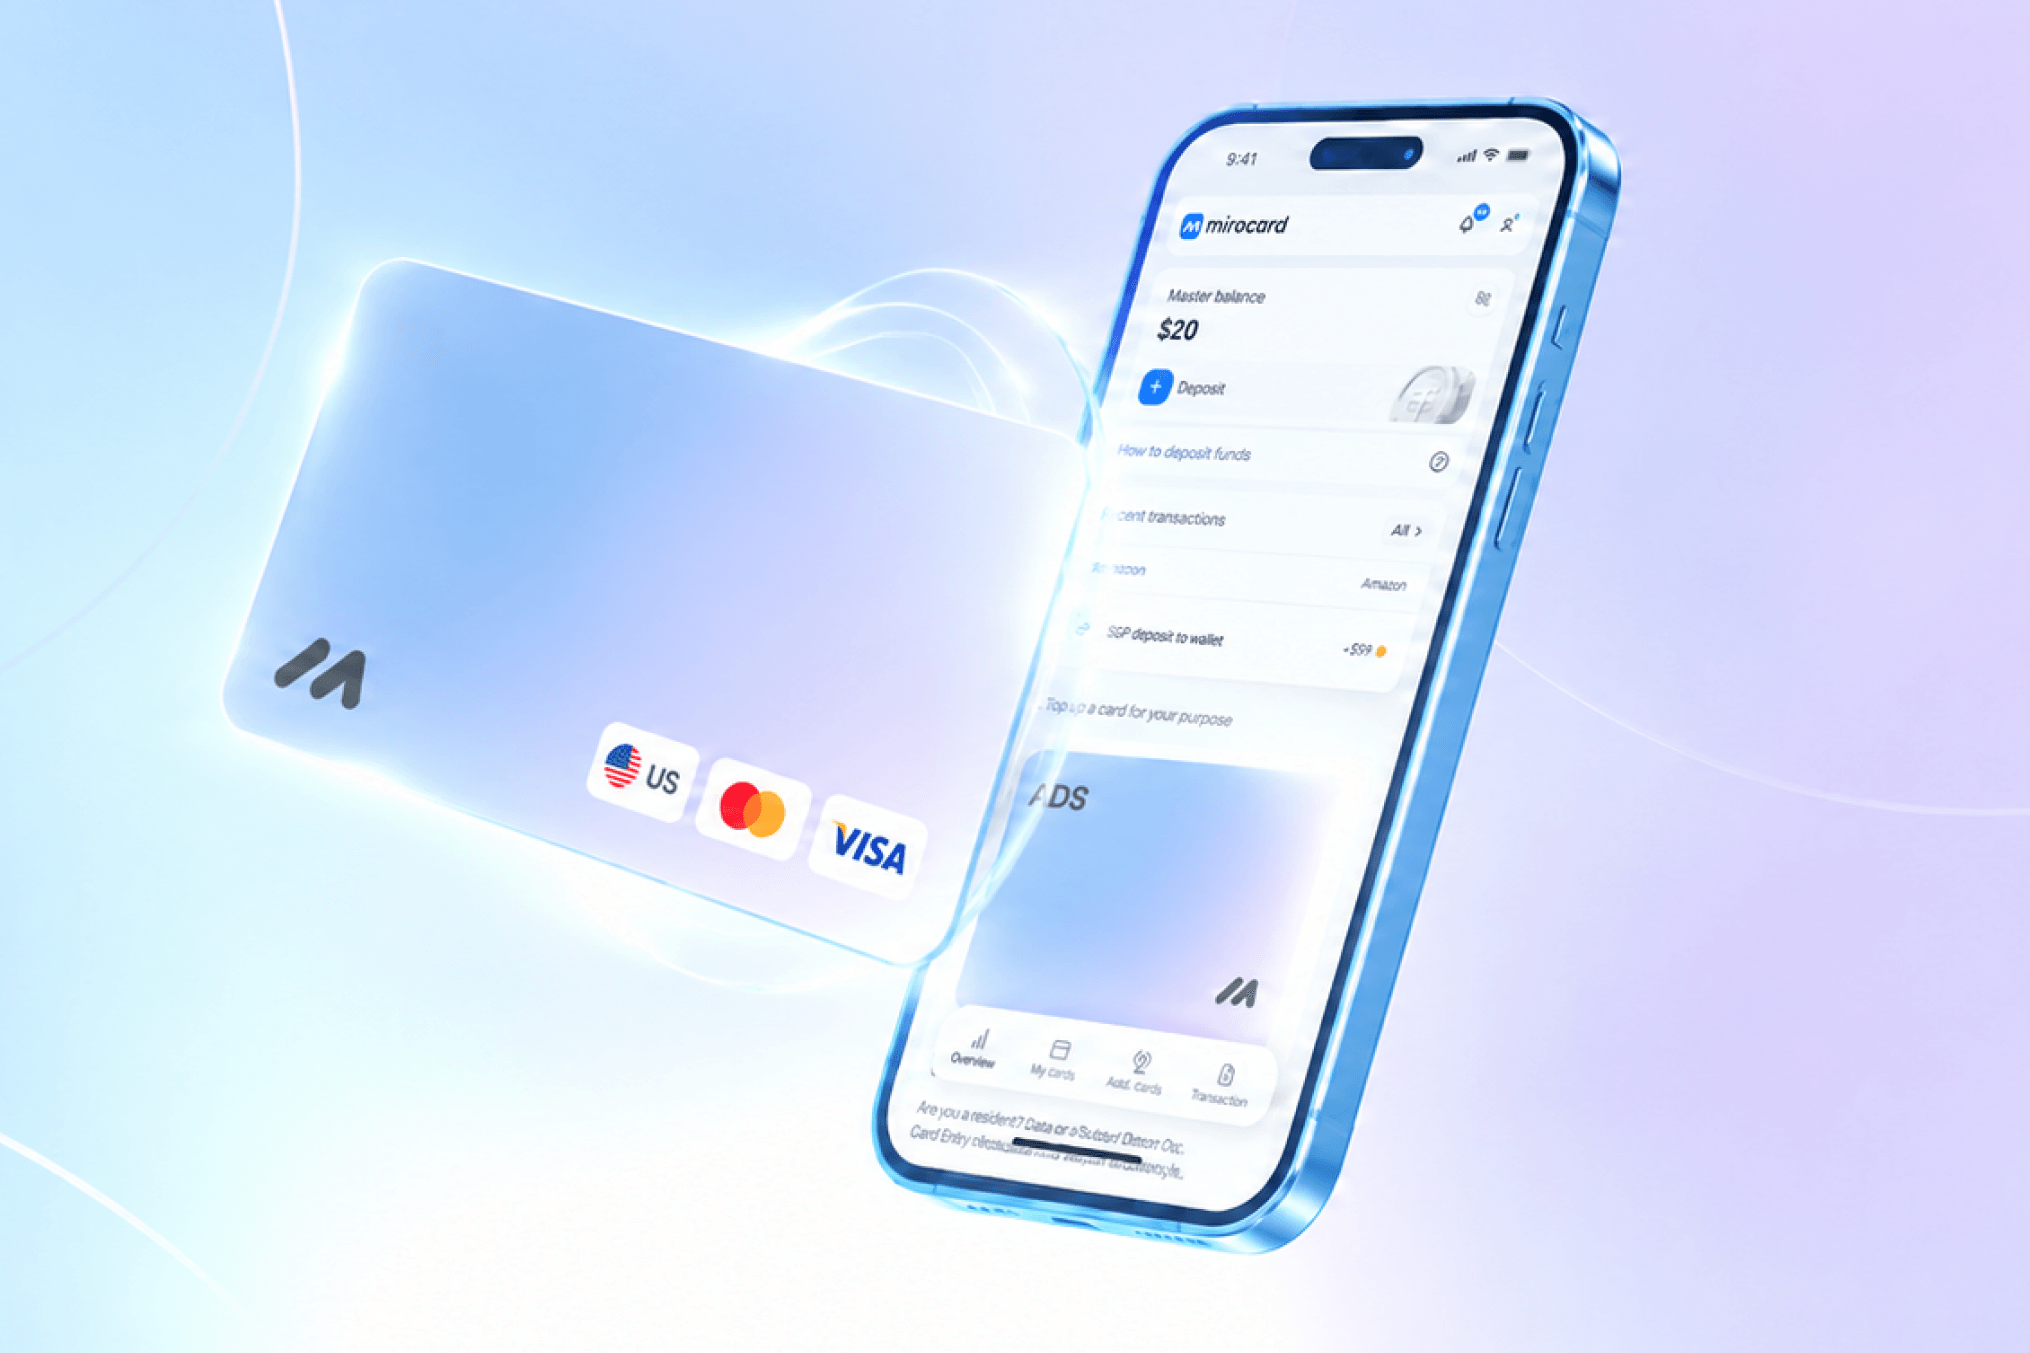
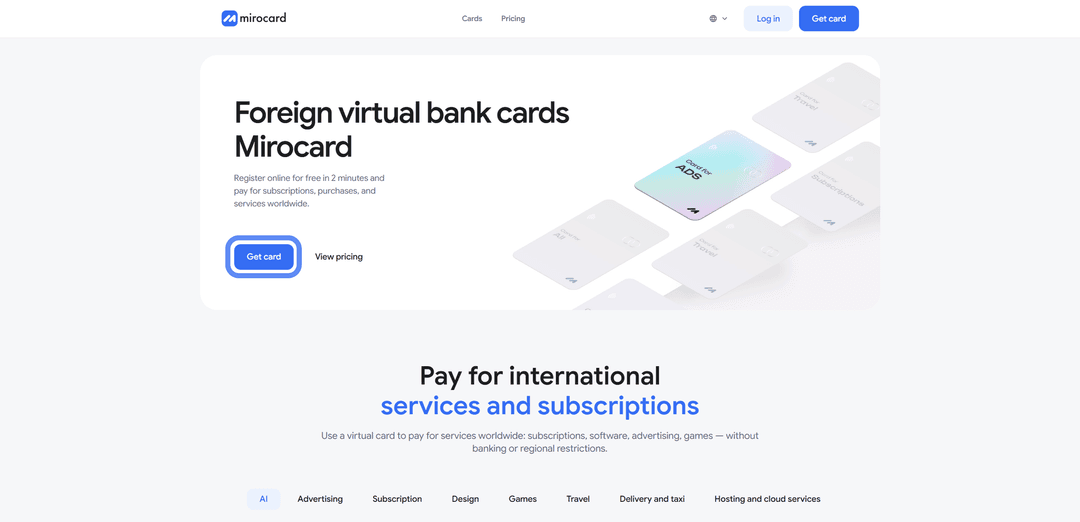
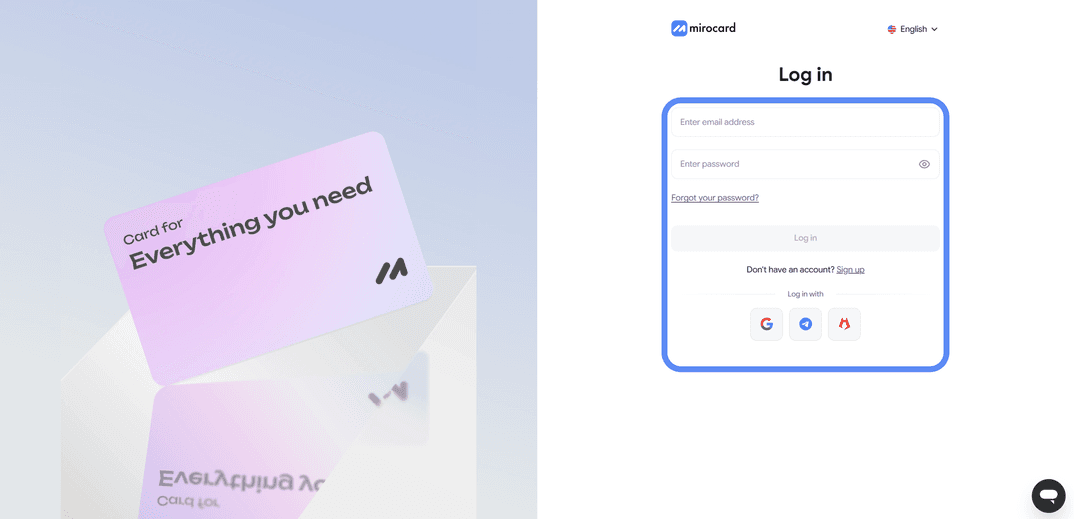
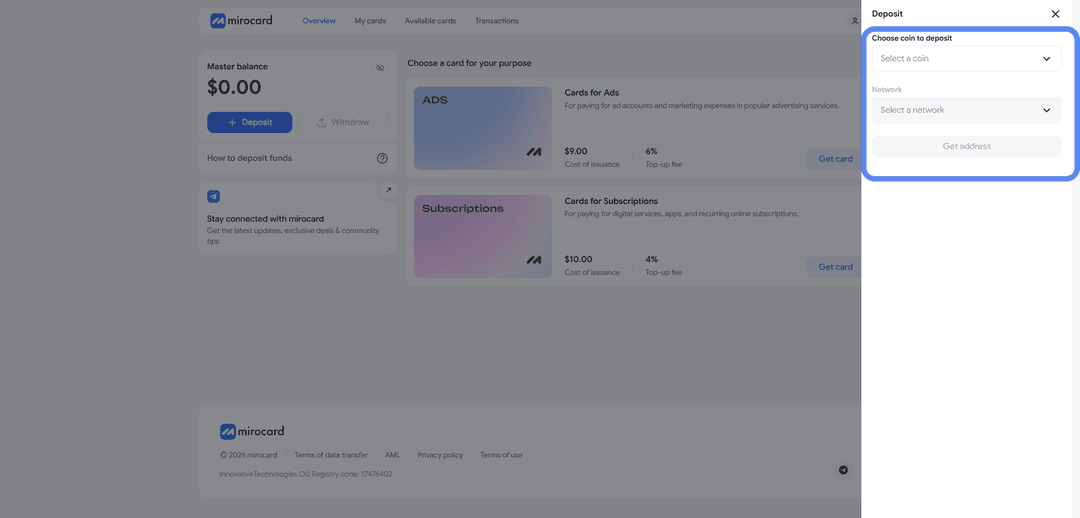
Step 1. Sign up. Go to mirocard.com and click "Get Card." Enter an email and password, then confirm your address through the link in the email. It's simpler for existing Heleket account holders — logging in through it carries over cards you've already issued, along with your account balance.
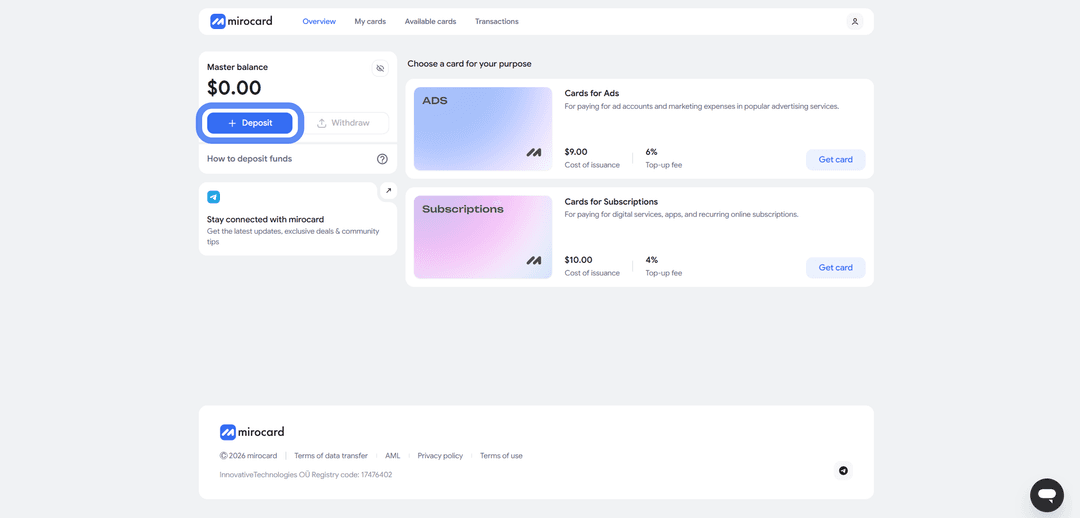
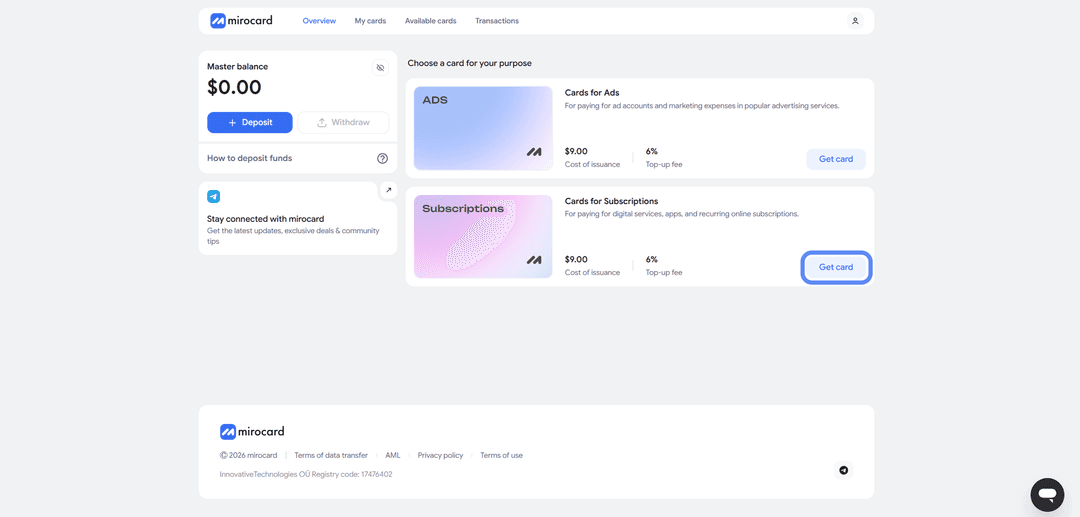
Step 3. Choose your card. From the catalog, open the card for paying subscriptions and digital services and start the issuance. The setup page shows the breakdown — the issuance cost and the starting balance you're loading onto the card right away. This is also where you choose the card's country, based on your Google payment profile.
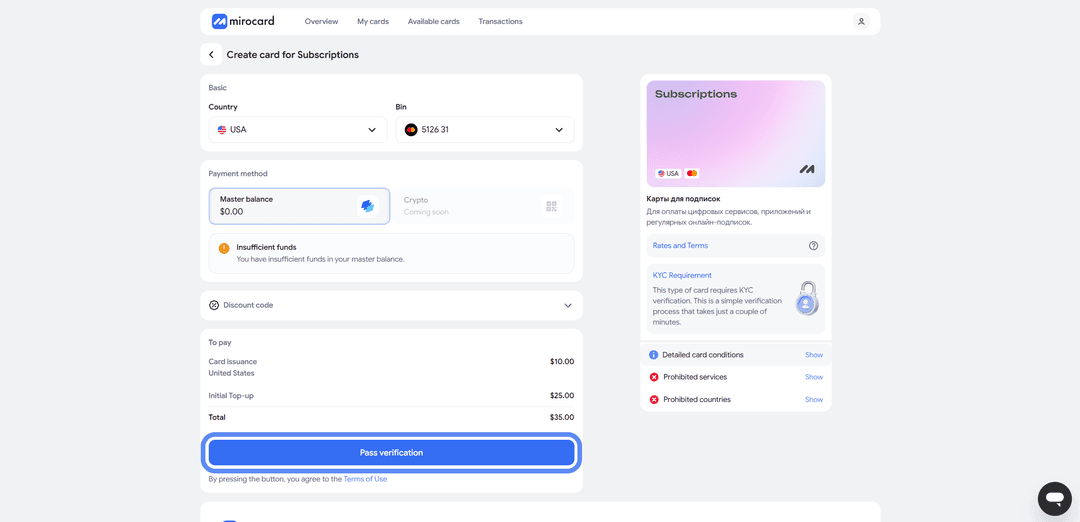
Step 4. Verify your identity. The service will ask you to confirm your identity by uploading documents. The check takes a couple of minutes, protects your account, and unlocks full spending limits.
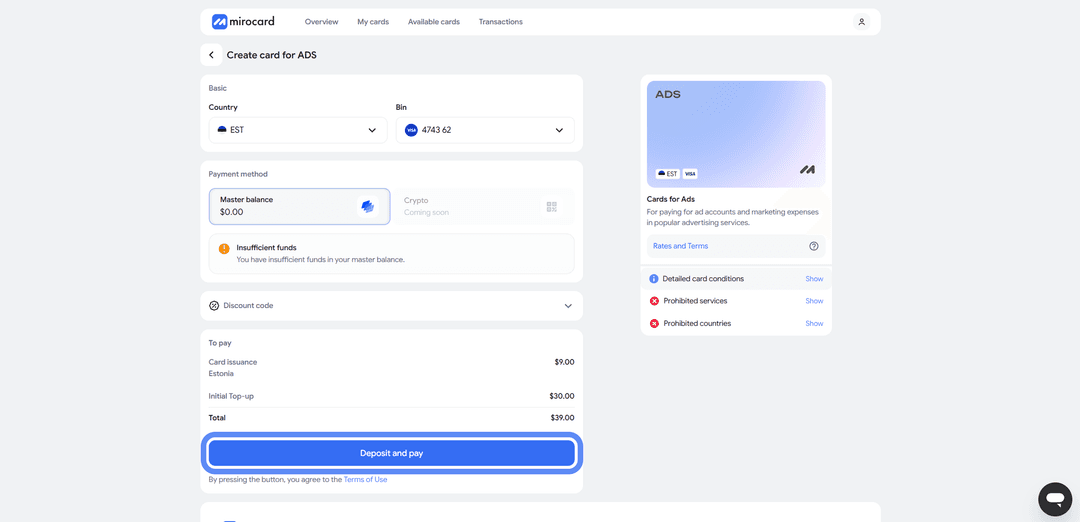
Step 5. Pay for the card. Confirm the order with the payment button. Ten dollars gets deducted from your master balance, and the remaining amount lands on the card.
Step 6. Grab your card details. Your account will show the finished card with its number, expiration date, and CVC. No separate activation is needed — it accepts payments right away.
Load the card with a buffer. Factor in three things: the 4% top-up fee, the tax Google adds on top of the plan price, and the gap between the promotional and full price. The first few months are often sold at a discount, and then the charge jumps by a wide margin — Google sends a warning a week before the promo ends, and by then the card needs enough balance to cover the full price.
Paying for the Subscription
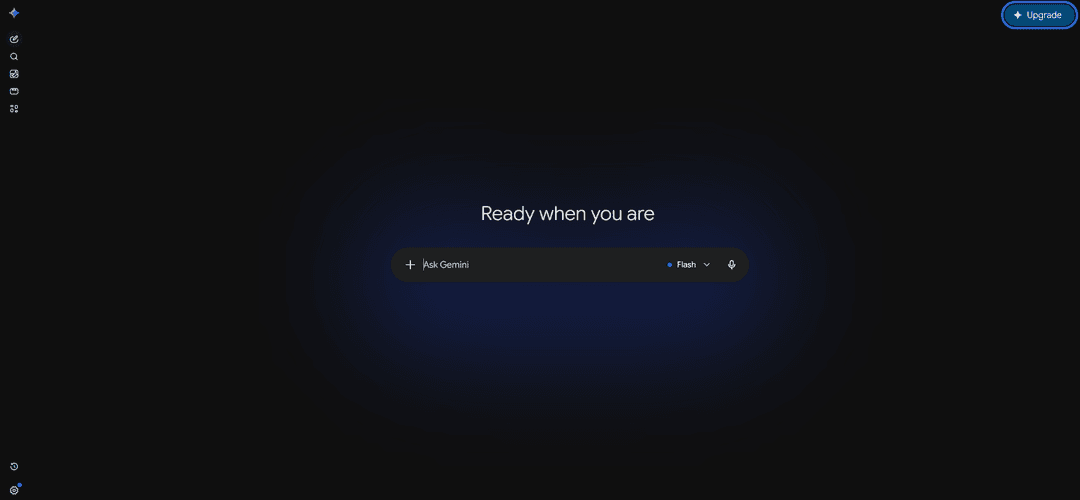
Step 1. Click "Change plan." Go to the Gemini home page. The button sits in the top-right corner of the Gemini interface. It opens the Google One plans page.
Step 2. Choose your billing period. A toggle near the top of the page switches between monthly and annual billing. Annual works out about 16% cheaper, but it's charged all at once, so your card balance needs to cover the full amount.
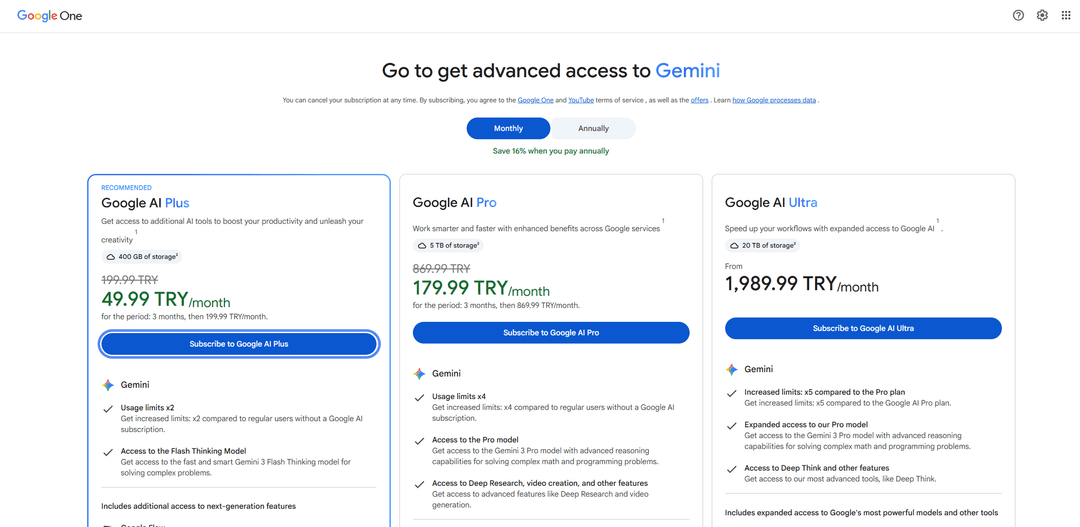
Step 3. Choose a plan. The Google AI subscription has three main plans. See the table above for how they differ. Pick the plan that fits and click the sign-up button.
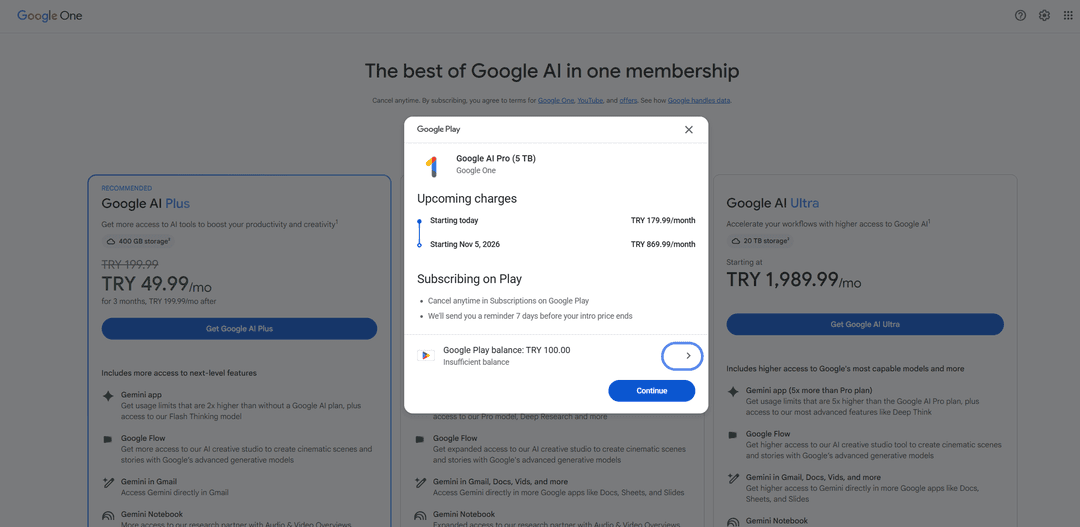
Step 4. Open payment methods. A Google Play window will appear showing the schedule of upcoming charges. Check the amounts — the first line shows what gets charged today, the second shows what you'll be charged once the promo ends. At the bottom of the window, click the line with your current payment method.
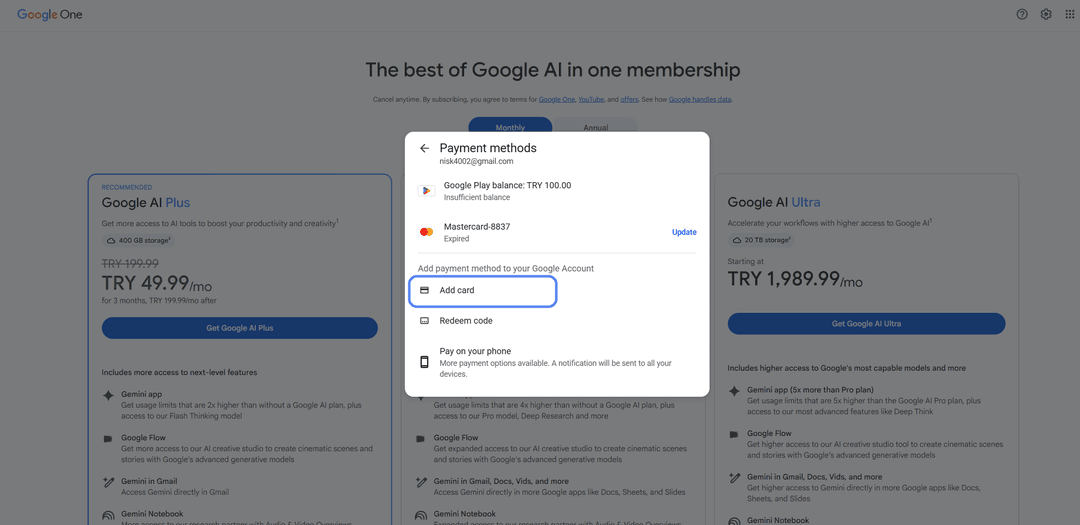
Step 5. Add a card. From the list of methods, choose "Add card." Google Play balance, a promo code, and phone billing are usually available too, but you need the option to enter card details.
Step 6. Enter your details. Fill in your Mirocard number, expiration date in MM/YY format, and the CVC from your account. Below that, Google will auto-fill your name and country from your payment profile — check that the country matches the card's. Click "Save card."
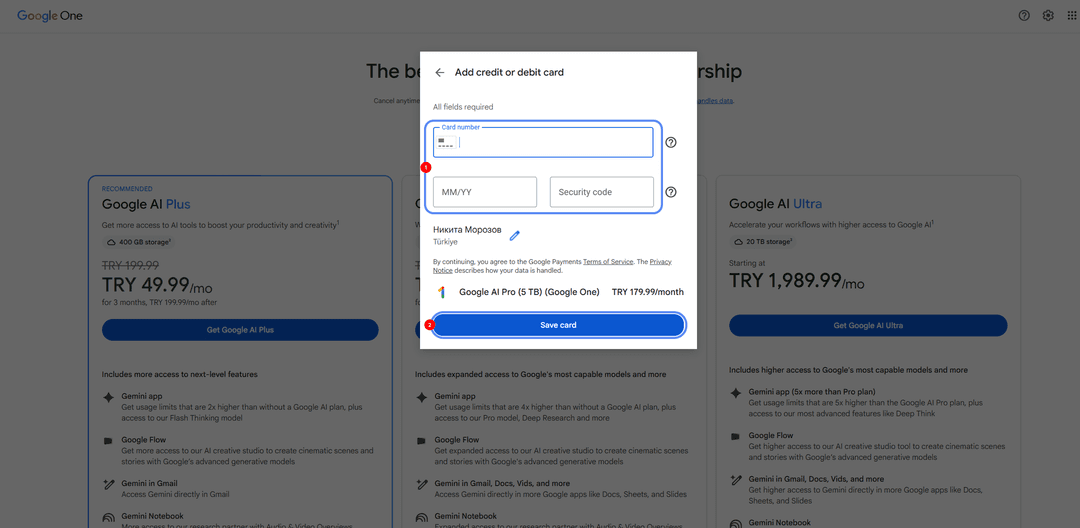
Step 7. Confirm the subscription. Back in the payment window, click "Subscribe." Access to paid features opens right away, and the card stays linked for future charges.
If the Payment Doesn't Go Through
A decline almost always comes down to one of four causes, and it's worth checking them in order.
Check your card balance. It needs to cover not just the plan price but also the tax Google adds on top. Annual billing needs the full amount at once. Also account for the top-up fee if you just transferred money onto the card.
Double-check your payment details. Copy the number, expiration date, and CVC from your account again to rule out a typo. Separately, check the country in your Google payment profile — a mismatch with the card's country gets the payment declined even when everything else is filled in correctly.
Wait out technical glitches. Sometimes a decline comes from a temporary issue on the payment system's side. Try again in an hour or two, rather than retrying several times in a row — a string of failed charges can sometimes trigger a temporary block on the payment method.
Contact support. If nothing works, write to Google support describing the error, and check your card's status in your Mirocard account at the same time. That way you'll figure out faster which side the problem is on.
Conclusion
Paying for Gemini comes down to two obstacles — Google doesn't accept cryptocurrency, and not everyone has access to a card. Add the payment profile's country lock on top, and the usual workaround of using someone else's card stops working.
A crypto-funded virtual card solves both problems at once. You set it up online in a few minutes, fund it straight from your wallet, and pay for the subscription with no exchanges or currency conversion services involved. The same card covers other foreign services too, so instead of juggling several payment methods, you're left with just one.