How to Pay for a Notion Subscription
#Payment Instructions
Notion is an online service where you can keep notes, manage projects, build databases, and collaborate — all in one workspace. Many people use it as a personal planner, a team wiki, or a CRM. The free version is enough for a single user with basic tasks, but for serious work — especially in a team — a subscription is needed.
But here's the issue — Notion doesn't accept crypto directly, so you can't sign up for a subscription that way. Today we'll break down which payment methods actually work and how to subscribe to Notion without any headaches.
Benefits and Features of Notion
Notion's main strength is flexibility. The same interface works as a document editor, task tracker, database, and kanban board. You decide how to structure your information and are not locked into someone else's templates.
Inside the service you can keep notes and personal plans, build knowledge bases for projects, manage tasks with deadlines and statuses, create public pages like a blog or portfolio, and work with a team in real time. Everything syncs across devices and is accessible from the web, desktop, and phone.
Worth mentioning separately is Notion AI — a built-in assistant that writes text, summarizes content, translates, and helps with ideas. It is a separate add-on subscription on top of the main one.
The service has several pricing plans — from a free single-user plan to team and enterprise options. For most freelancers and small teams, the Plus plan is the right fit: it removes block count limits, adds version history, and provides extended access controls.
How to Pay for the Subscription
There are several working options. Each has its own advantages and limitations.
Foreign Bank Cards
You can open an account at a bank in another country and get a physical or virtual card. This is a fully legal and stable solution — the card works everywhere Visa or Mastercard is accepted.
However, registration often requires a personal visit to the country, a local address, or residency documents. The process is lengthy, expensive, not always justified, and not everyone has the means to do it.
Payment Intermediaries
These are services and individuals who pay for the subscription on your behalf using their own card, while you transfer the amount to them with a markup. Convenient for one-off payments, but there are caveats.
Intermediary fees are high — usually 10 to 25% on top of the cost. They generally cannot link a card to your account and only pay a specific invoice. With automatic renewals, this creates a risk — the subscription will lapse when the renewal date arrives. There is also the question of trust: money is sent upfront, and guarantees are not always solid.
Virtual Cards
A virtual card is the same as a regular bank card, just without the plastic. It has a card number, expiry date, and CVV, and is accepted everywhere Visa or Mastercard is supported.
You can get such a card online in a couple of minutes, without visiting a bank. The card is linked to your Notion account just like a regular one — you enter the details and the subscription activates. If there are funds on it, automatic renewals also go through without any issues.
The main condition is to choose a service whose cards work for Notion payments and operate reliably with foreign SaaS platforms. Not all virtual cards are equally compatible with international platforms.
Mirocard — A Way to Pay for Notion by crypto
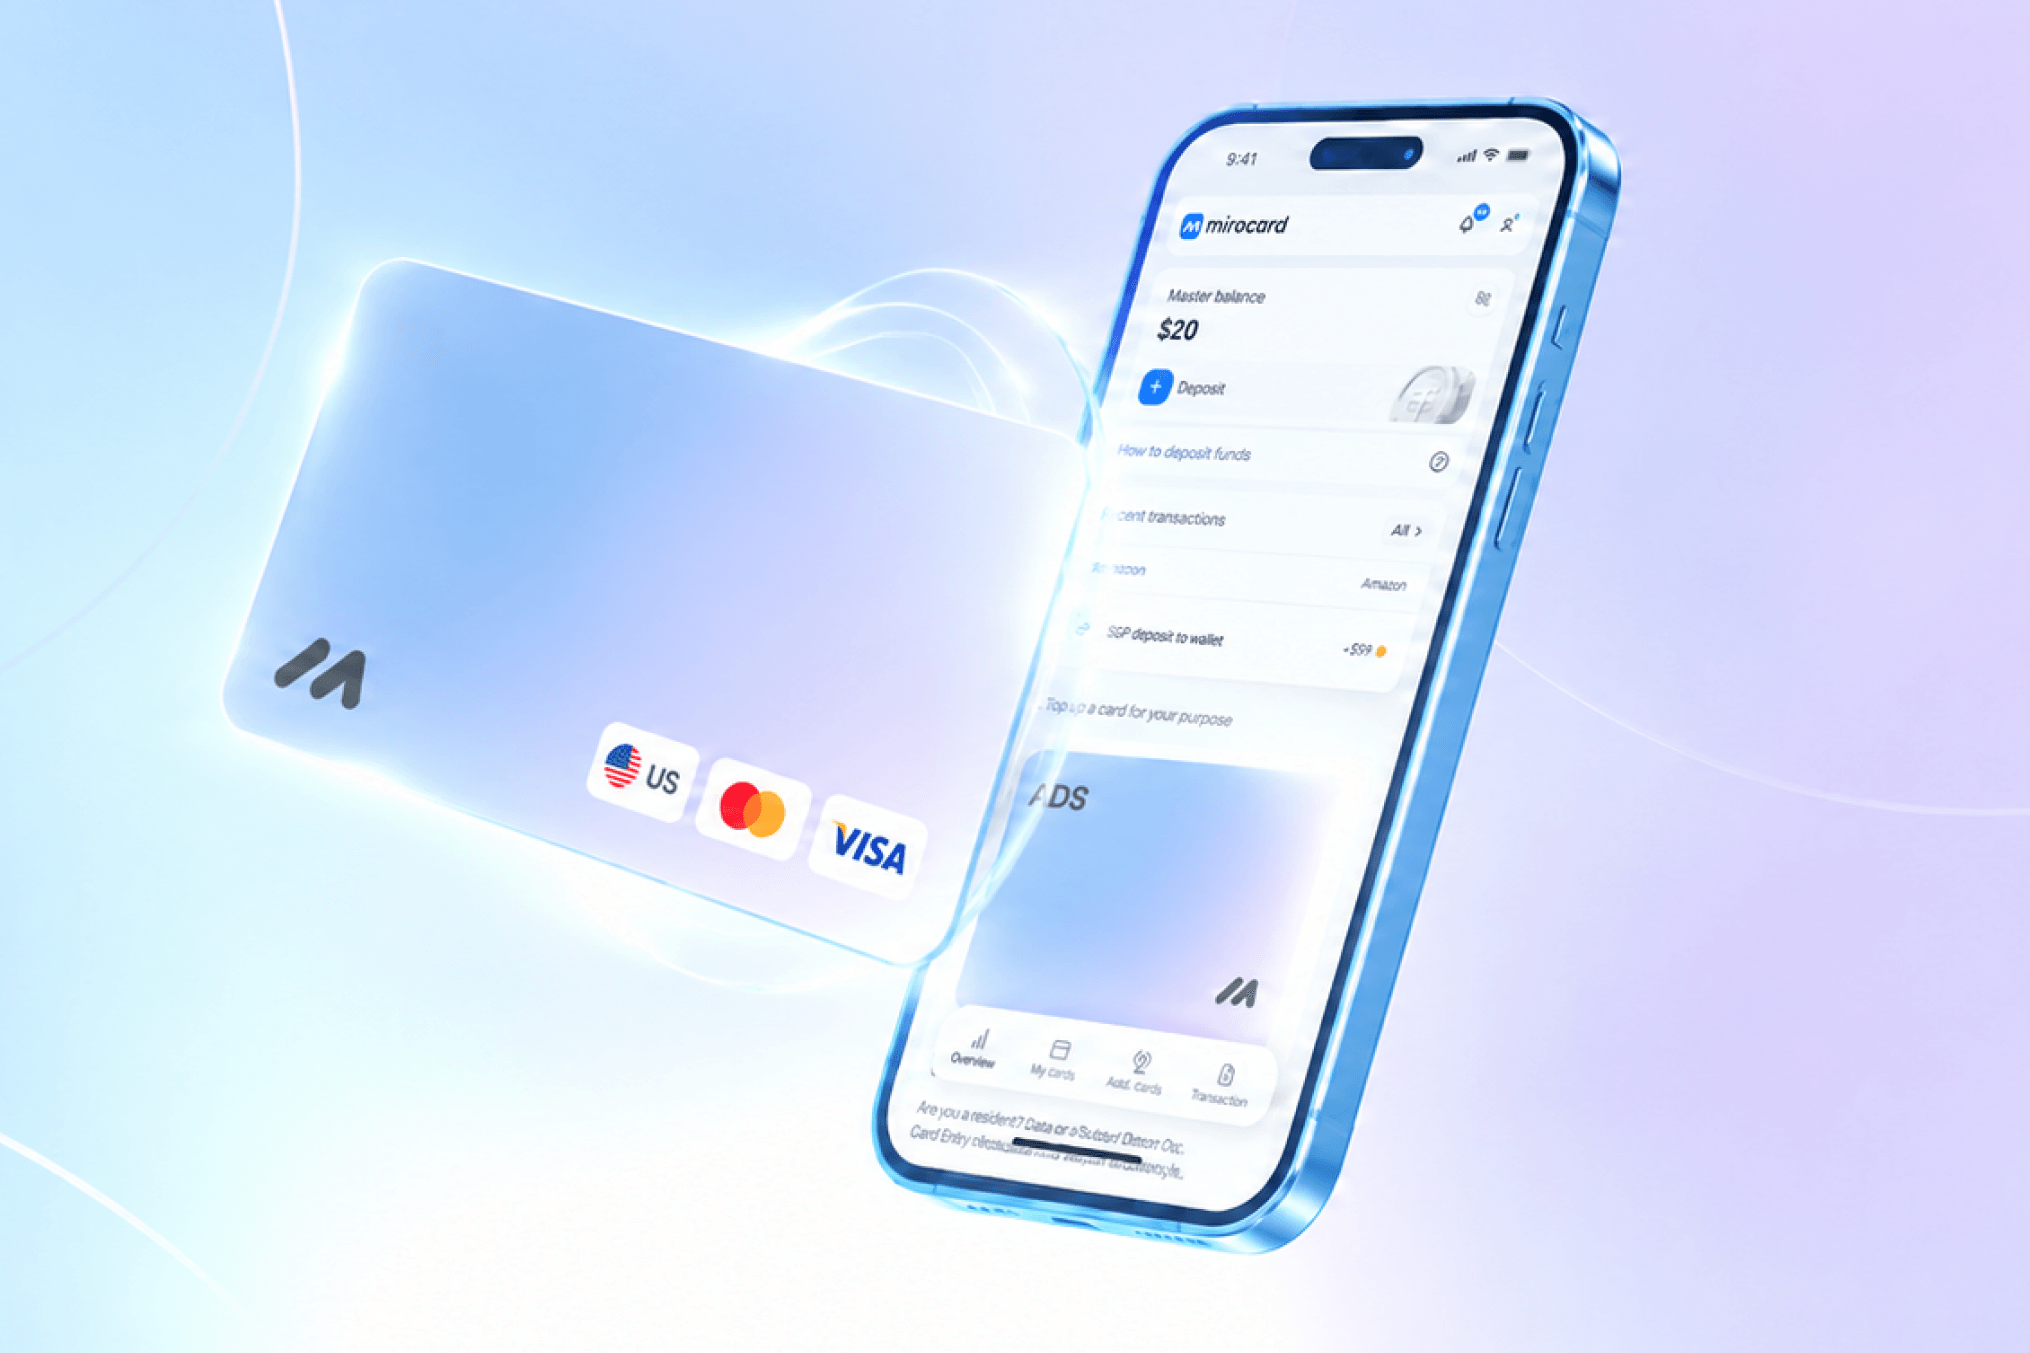
Mirocard is a virtual card service for paying for foreign services and subscriptions. The cards are issued under Visa and Mastercard, topped up with cryptocurrency, and work everywhere these payment systems are accepted — including Notion.
For Notion payments, the subscriptions card is the right choice. It is specifically designed for recurring SaaS service charges — Notion, ChatGPT, Spotify, Netflix, Figma, and others. Issuance costs $10, and the top-up fee is 4%.
What matters here is that the card tops up directly with crypto — that removes any dependency on banks. Supported assets include ETH, USDC, USDT, AVAX, BCH, DAI, BNB, BTC, DASH, DOGE, POL, LTC, SOL, TON, TRX, XMR. If you've got crypto on an exchange or in a wallet, that's all you need.
Multiple cards can be opened from a single account. This is handy if you want to separate personal and work subscriptions, or manage payments for multiple services across different cards for budget control.
How to Get a Mirocard Card
Here is the process step by step.
Step 1. Registration
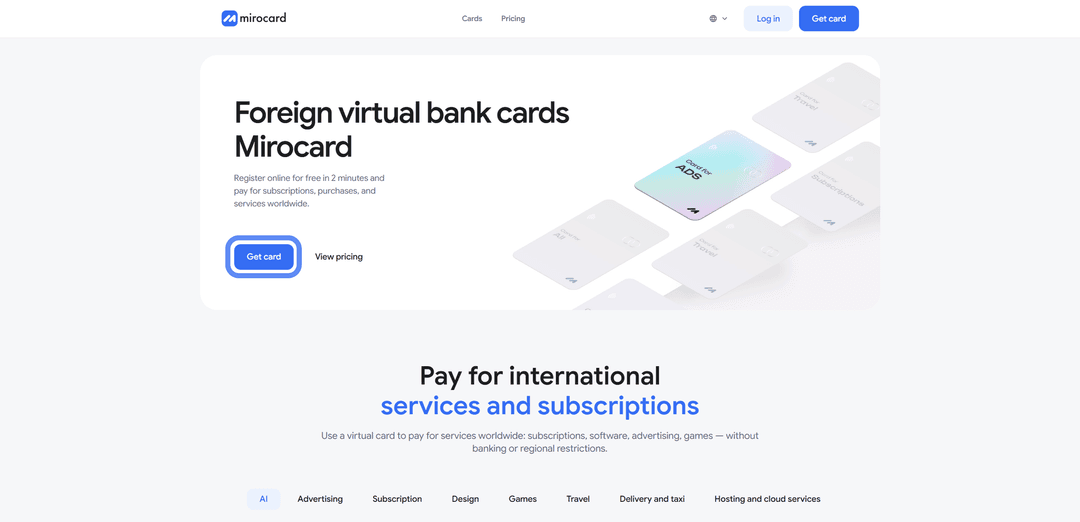
Go to the Mirocard website and click "Get a Card."
Next, log into your account. If you are on the platform for the first time, select "Register." You will need a working email address — a confirmation link will be sent to it — and a password. You can also log in via your Google or Telegram account if that is more convenient.
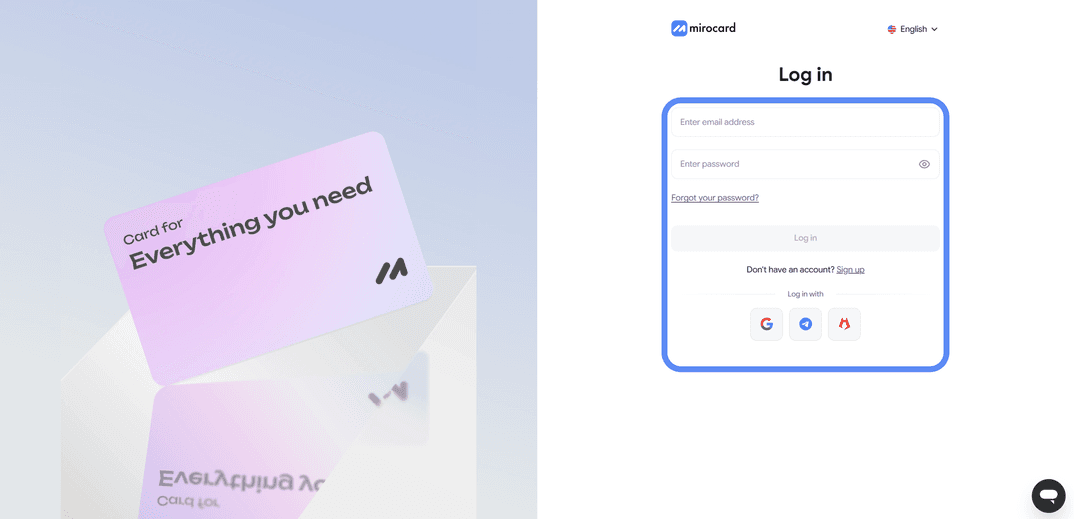
If you already have a Heleket account, it is better to log in through it — all your funds and cards will transfer automatically.
Step 2. Top Up the Master Balance
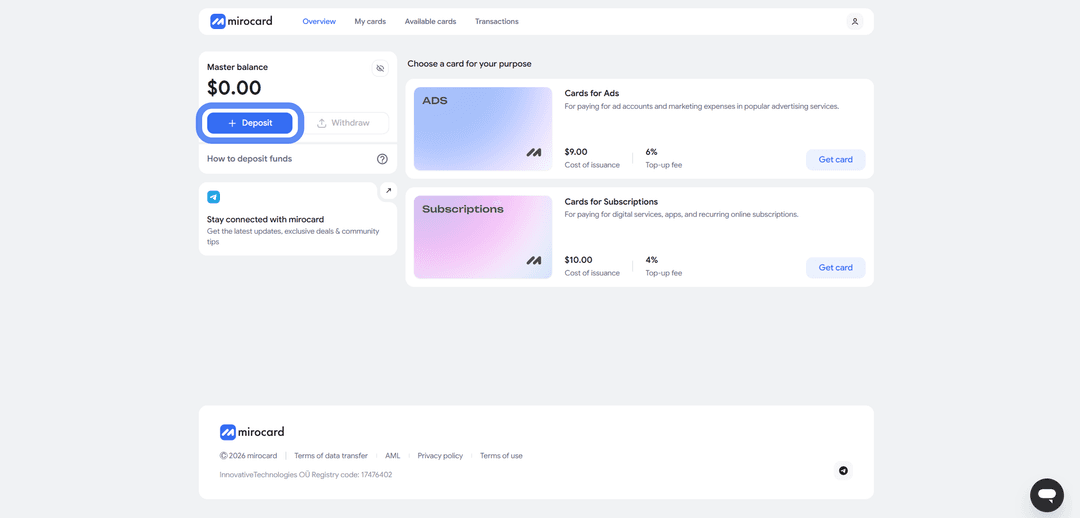
In your personal account, find the Master Balance block and click "Top Up."
A list of coins and networks will appear. Choose a suitable one — for example, USDT via TRC-20, which has one of the lowest transfer fees.
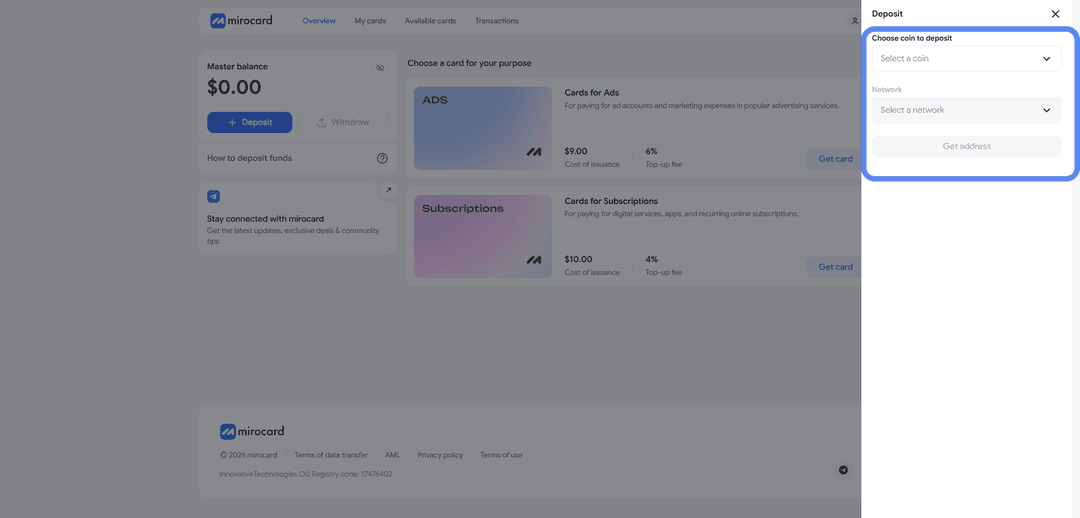
Click "Get Address" — the service will generate a wallet address to which you need to send crypto from an exchange or external wallet. Funds will be credited after blockchain confirmation, usually within a few minutes.
Step 3. Choose a Card
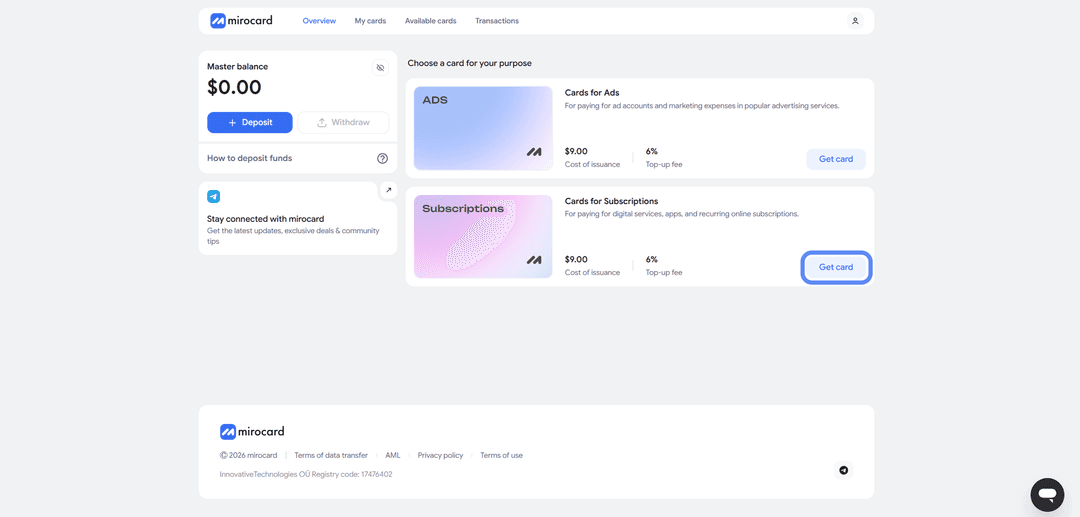
After topping up the Master Balance, select the card you want to issue. For Notion payments, the subscriptions card is the right fit. Click "Get Card" on the right side of the corresponding block — the issuance page will open.
Step 4. Verification
Before issuance, you need to complete verification and upload documents. This ensures that only you can manage your funds and link new cards. Click the "Complete Verification" button to proceed.
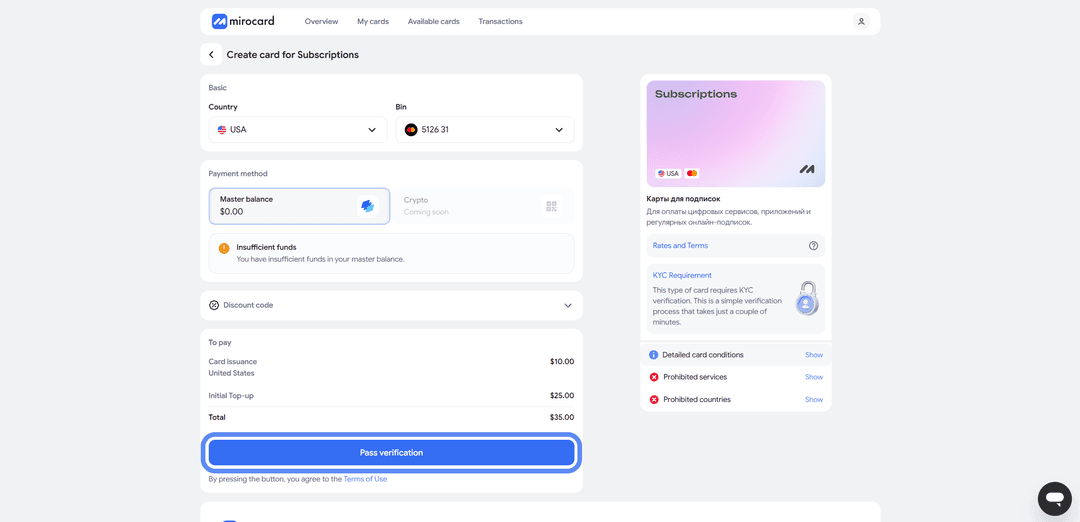
After the review, maximum purchase and top-up limits will become available.
Step 5. Pay for Issuance
After completing verification, click "Deposit and Pay" on the same page.
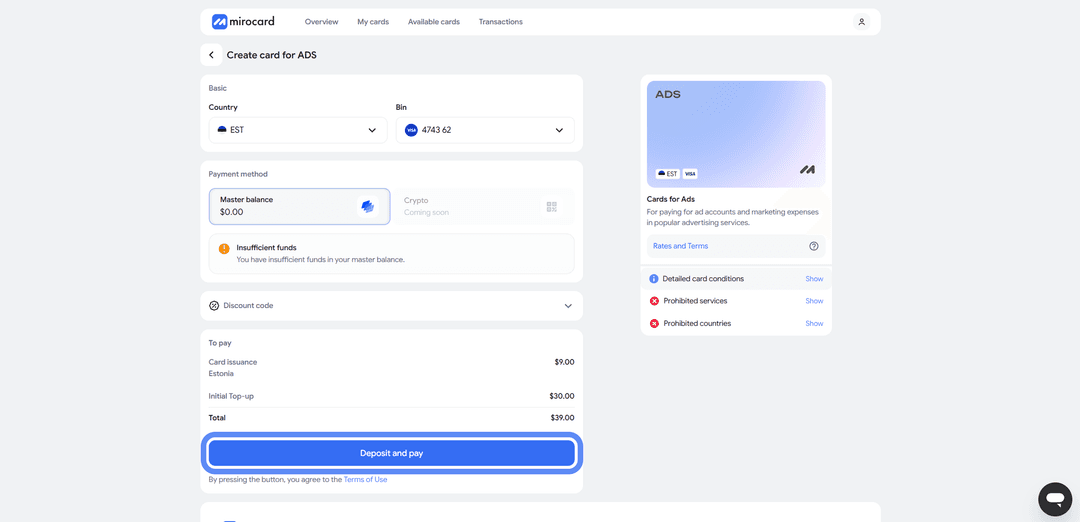
The issuance fee is $10, which will be deducted from the Master Balance. The remaining amount will stay on the card account and be available for purchases.
Step 6. Done
The card will appear in your personal account along with the current balance. Here you can see the card details, transaction history, and a top-up button. The card works immediately after issuance — no additional activation steps are needed.
A tip: put a little more on the card than the subscription costs. Notion may temporarily hold a slightly larger amount during billing, and if the balance is only just enough, the payment may not go through.
How to Pay for Notion via Mirocard
The card is ready — now let's pay for the subscription.
Step 1. Log Into Your Notion Account
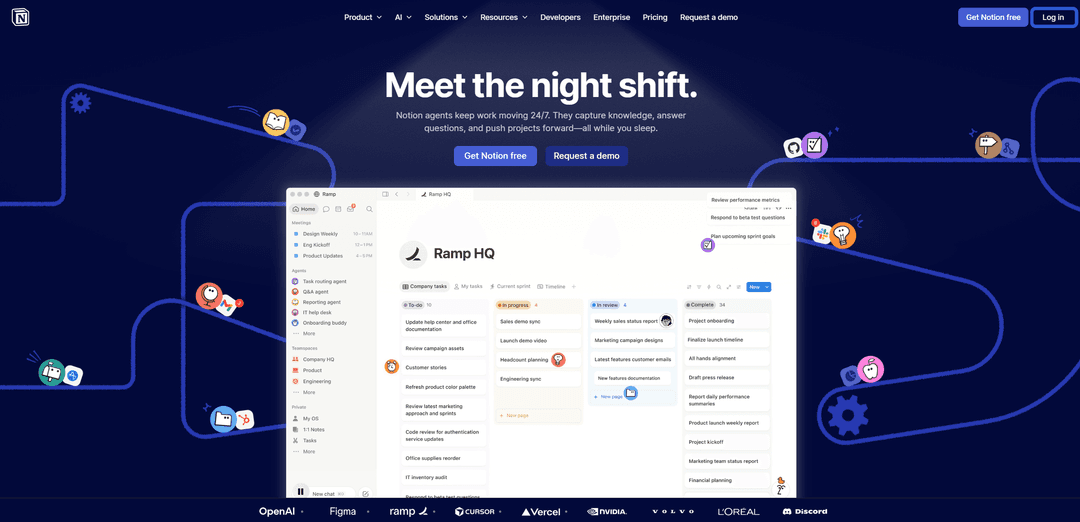
Open notion.com and sign into your profile. If you don't have an account yet, create a new one — an email address or Google login is enough.
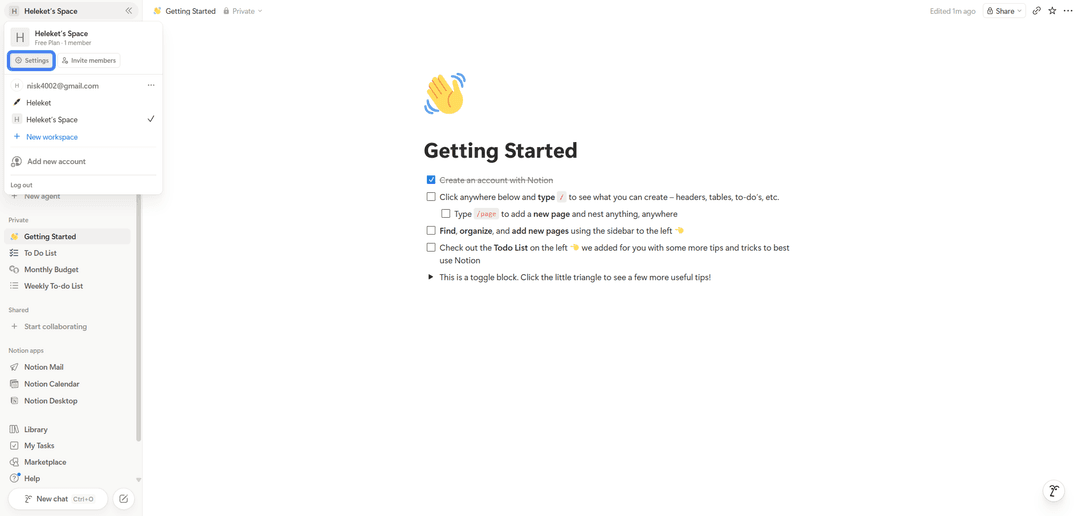
Step 2. Open Workspace Settings
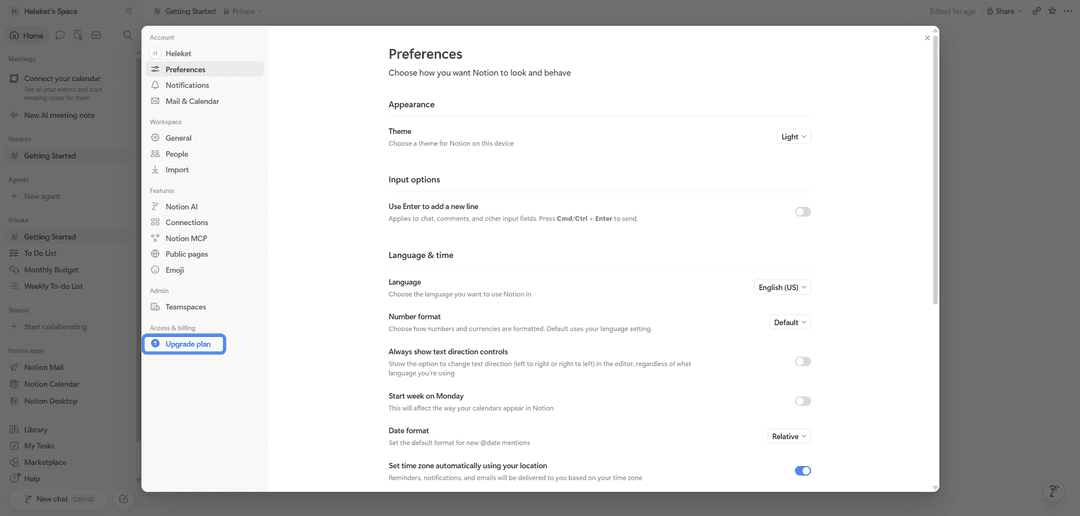
Then find the "Upgrade Plan" section and click on it.
Step 3. Choose a Plan
Now select the plan that suits your needs.
Plus. A plan for freelancers and small teams. The main limitations of the free plan are removed — you can invite an unlimited number of guests, upload files of any size, and version history is stored for 30 days. You can also connect a custom domain for public pages. The most popular choice for individual users and teams of up to five people.
Business. Suitable for companies where Notion becomes the main working tool for several departments. Adds SAML SSO for corporate account login, private spaces for individual teams, advanced page analytics, and group PDF export. Version history — 90 days.
Enterprise. A plan for large organizations with elevated security requirements. Includes action auditing, advanced access control, SCIM for automated user management, and individualized support terms. Pricing is agreed directly.
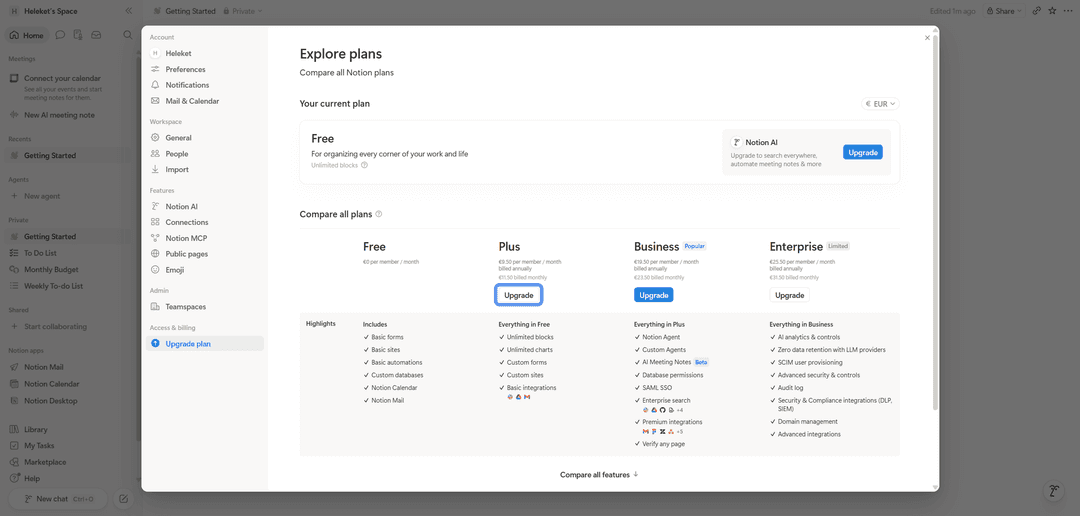
If you plan to use Notion AI, it can be added separately.
Step 4. Enter Card Details
In the payment form, enter your Mirocard card number, expiry date, CVV, and cardholder name — all of this data is available in your Mirocard personal account. The billing address can be any address — Notion does not verify it against the card's country.
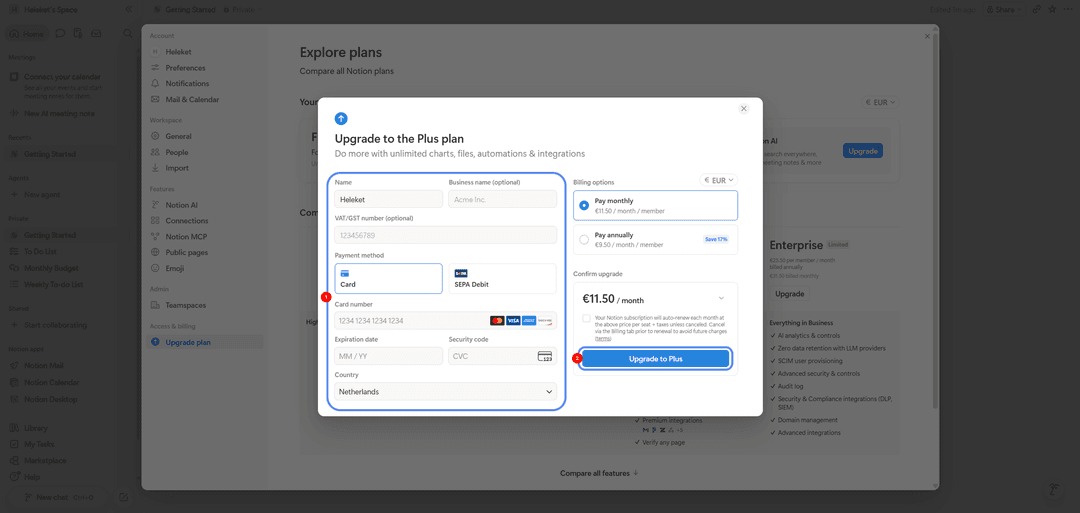
Step 5. Confirm the Payment
After entering the details, click the payment button — in our case "Upgrade to Plus." The charge is instant and the subscription activates immediately. A receipt will be sent to the email linked to your Notion account.
If the Payment Fails
Check the card balance — there should be sufficient funds with some to spare. Make sure the details were entered correctly, especially the CVV. And verify that the card is active in your Mirocard personal account and has funds on it.
Conclusion
You can pay for Notion with crypto — bank cards won't do the job here, but there are a few solid workarounds. Resellers are fast, but pricey and come with risks. Virtual cards strike the right balance between speed, cost, and reliability.
Mirocard in this role works like a regular Visa or Mastercard, except it is topped up with crypto and issued online in a few minutes. One card can be used to pay not only for Notion but for dozens of other services — from ChatGPT to Spotify. Once set up, the process becomes routine: top up the balance, pay for the subscription, and forget about the problem.
If foreign services are a regular part of your work, a virtual card pays for itself within the first couple of payments.