E-Wallet with a Virtual Card: How to Use It
#reviews
An e-wallet and a virtual card solve different problems, even though people often mix them up. A wallet is where money is stored and managed, while a card is the tool used to spend that money wherever cards are accepted. The practical point of separating them is that a wallet ties directly to a specific source of funds, while a card sits on top of that balance and works on any site where you need to enter a card number.
Almost no site or service accepts raw crypto as payment — you still end up paying with ordinary money either way. A wallet paired with a card closes that gap, turning the balance into money right inside one system, with no exchange and no separate conversion step on the side.
Below, we'll look at how this wallet-plus-card pairing works under the hood, what sets a wallet and a card apart, and how to set both up through Mirocard.
How the "wallet + virtual card" pairing works
In this pairing, the wallet and the card aren't two separate tools — they're one balance in two forms. The wallet stores the money and shows the transaction history, while the card lets you spend part of that balance somewhere the wallet itself isn't accepted directly.
When you pay, the money doesn't come off the card as a separate account — it comes off the wallet the card is linked to. The card here works more like a key to the balance than a standalone pot of money. The practical rule that follows is simple: if the wallet doesn't have the needed amount, no card linked to it will get a payment through, no matter how many cards you've issued.
How a typical purchase goes
Say a user signs up for a streaming subscription and enters the card number, expiration date, and the code on the back at checkout — exactly like with a regular bank card. The service sends a request to the payment system, which checks whether there's enough on the balance, and at that moment the charge is actually taken from the wallet, not the card itself — the card just passes the command along the chain. Within a few seconds, the service gets payment confirmation, and an entry with the exact amount and the name of the service that charged it shows up in the wallet's transaction history.
How an e-wallet differs from a virtual card
A wallet and a card solve different problems, and mixing them up means losing the point each one was built for.
| Parameter | E-wallet | Virtual card | |
|---|---|---|---|
| Main function | E-walletStoring and managing money | Virtual cardProcessing a payment | |
| Where it's used | E-walletInside the app or your account | Virtual cardOn any site that accepts cards | |
| Does it hold money | E-walletYes, that's its main job | Virtual cardNo, it only passes access to the wallet's balance | |
| Does it work on its own | E-walletYes, if the service accepts a direct transfer | Virtual cardNo, a card doesn't function without a linked wallet |
A wallet can get by without a card wherever a service accepts a direct transfer, but a card doesn't exist without a wallet behind it at all. That's why in this pairing, the wallet comes first, and the card is just a way to spend what's sitting in it.
What an e-wallet with a virtual card is for
Splitting money by purpose is the main reason people choose a wallet-plus-card setup over one all-purpose account. You open a separate wallet for a specific category of spending, and issue a card against it for exactly the amount that spending needs.
If something happens to that card, the rest of your money in other wallets stays untouched. The same logic applies to one-off purchases on new or unverified sites, where you'd rather not hand over your main card's details — a virtual card on top of a separate wallet caps your risk at whatever's sitting in that wallet, not your whole available budget.
A separate wallet with a card is also handy as a temporary tool for a single task — a trial payment on a service, a rental during a trip, or a one-off order — which you can then close without touching your other accounts.
A wallet with a virtual card for international services
International sites and services usually accept a card as the only payment method, and that's where a wallet-plus-card setup has a clear edge over a wallet without a card — you can link the card itself to the payment, instead of hunting for a way to send money from the wallet straight to the seller.
A wallet holding BTC, ETH, USDT, USDC, TON, TRX, or SOL is, on its own, useless on most sites — a seller simply won't accept money in that form. A card layered on top of that wallet solves exactly this problem, taking funds in cryptocurrency on one side and handing the seller an ordinary payment on the other.
Either way, the effect is the same — the payment barrier goes away not by switching banks or countries, but through a card whose details formally look no different from a card issued by any other bank.
An e-wallet with a Mirocard virtual card
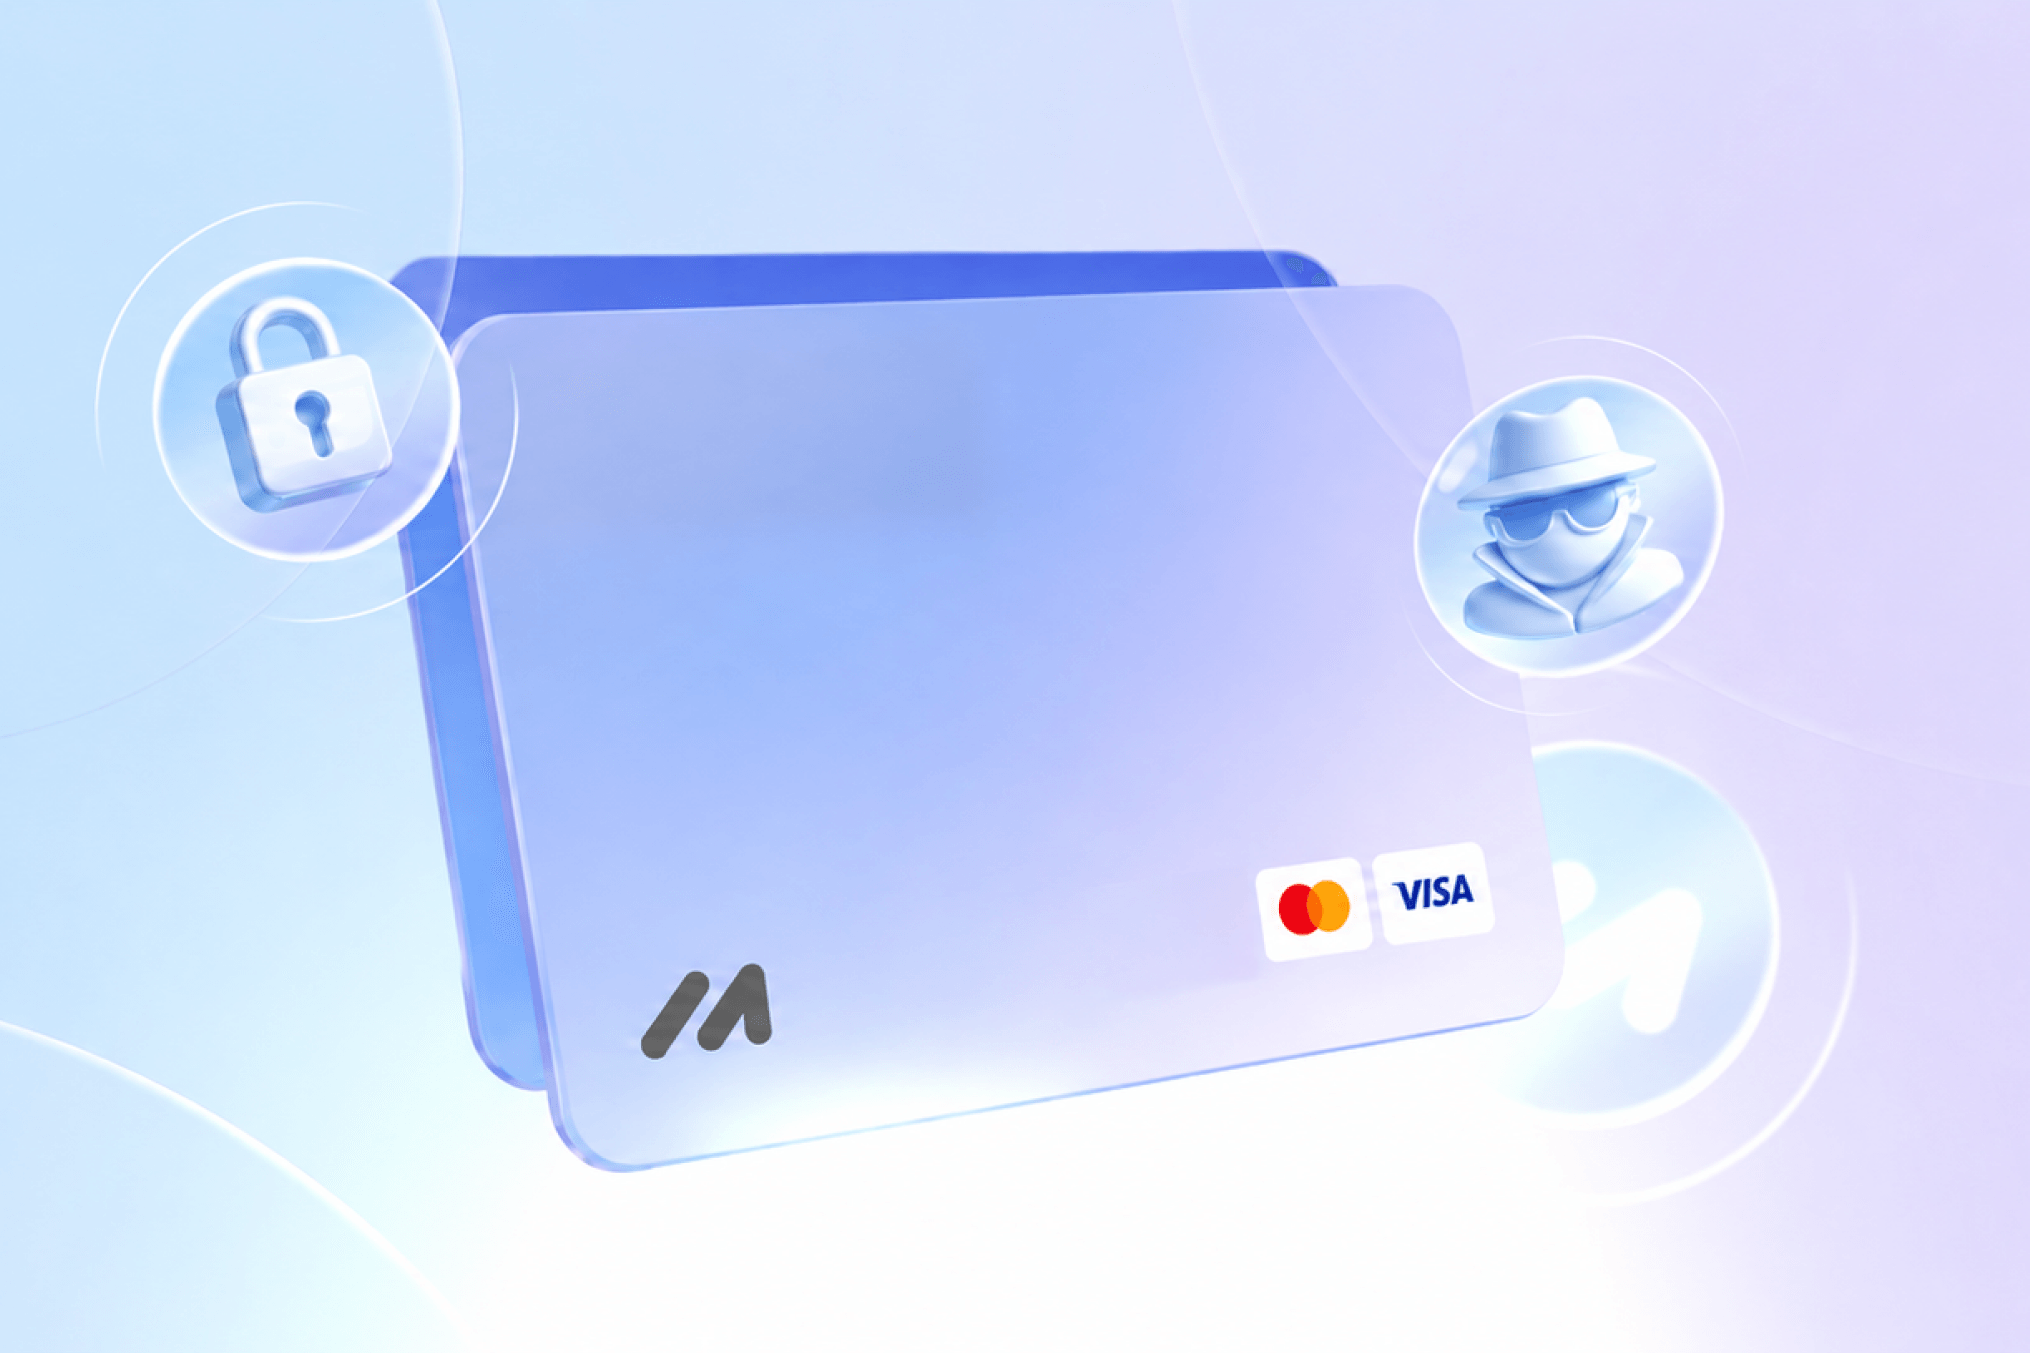
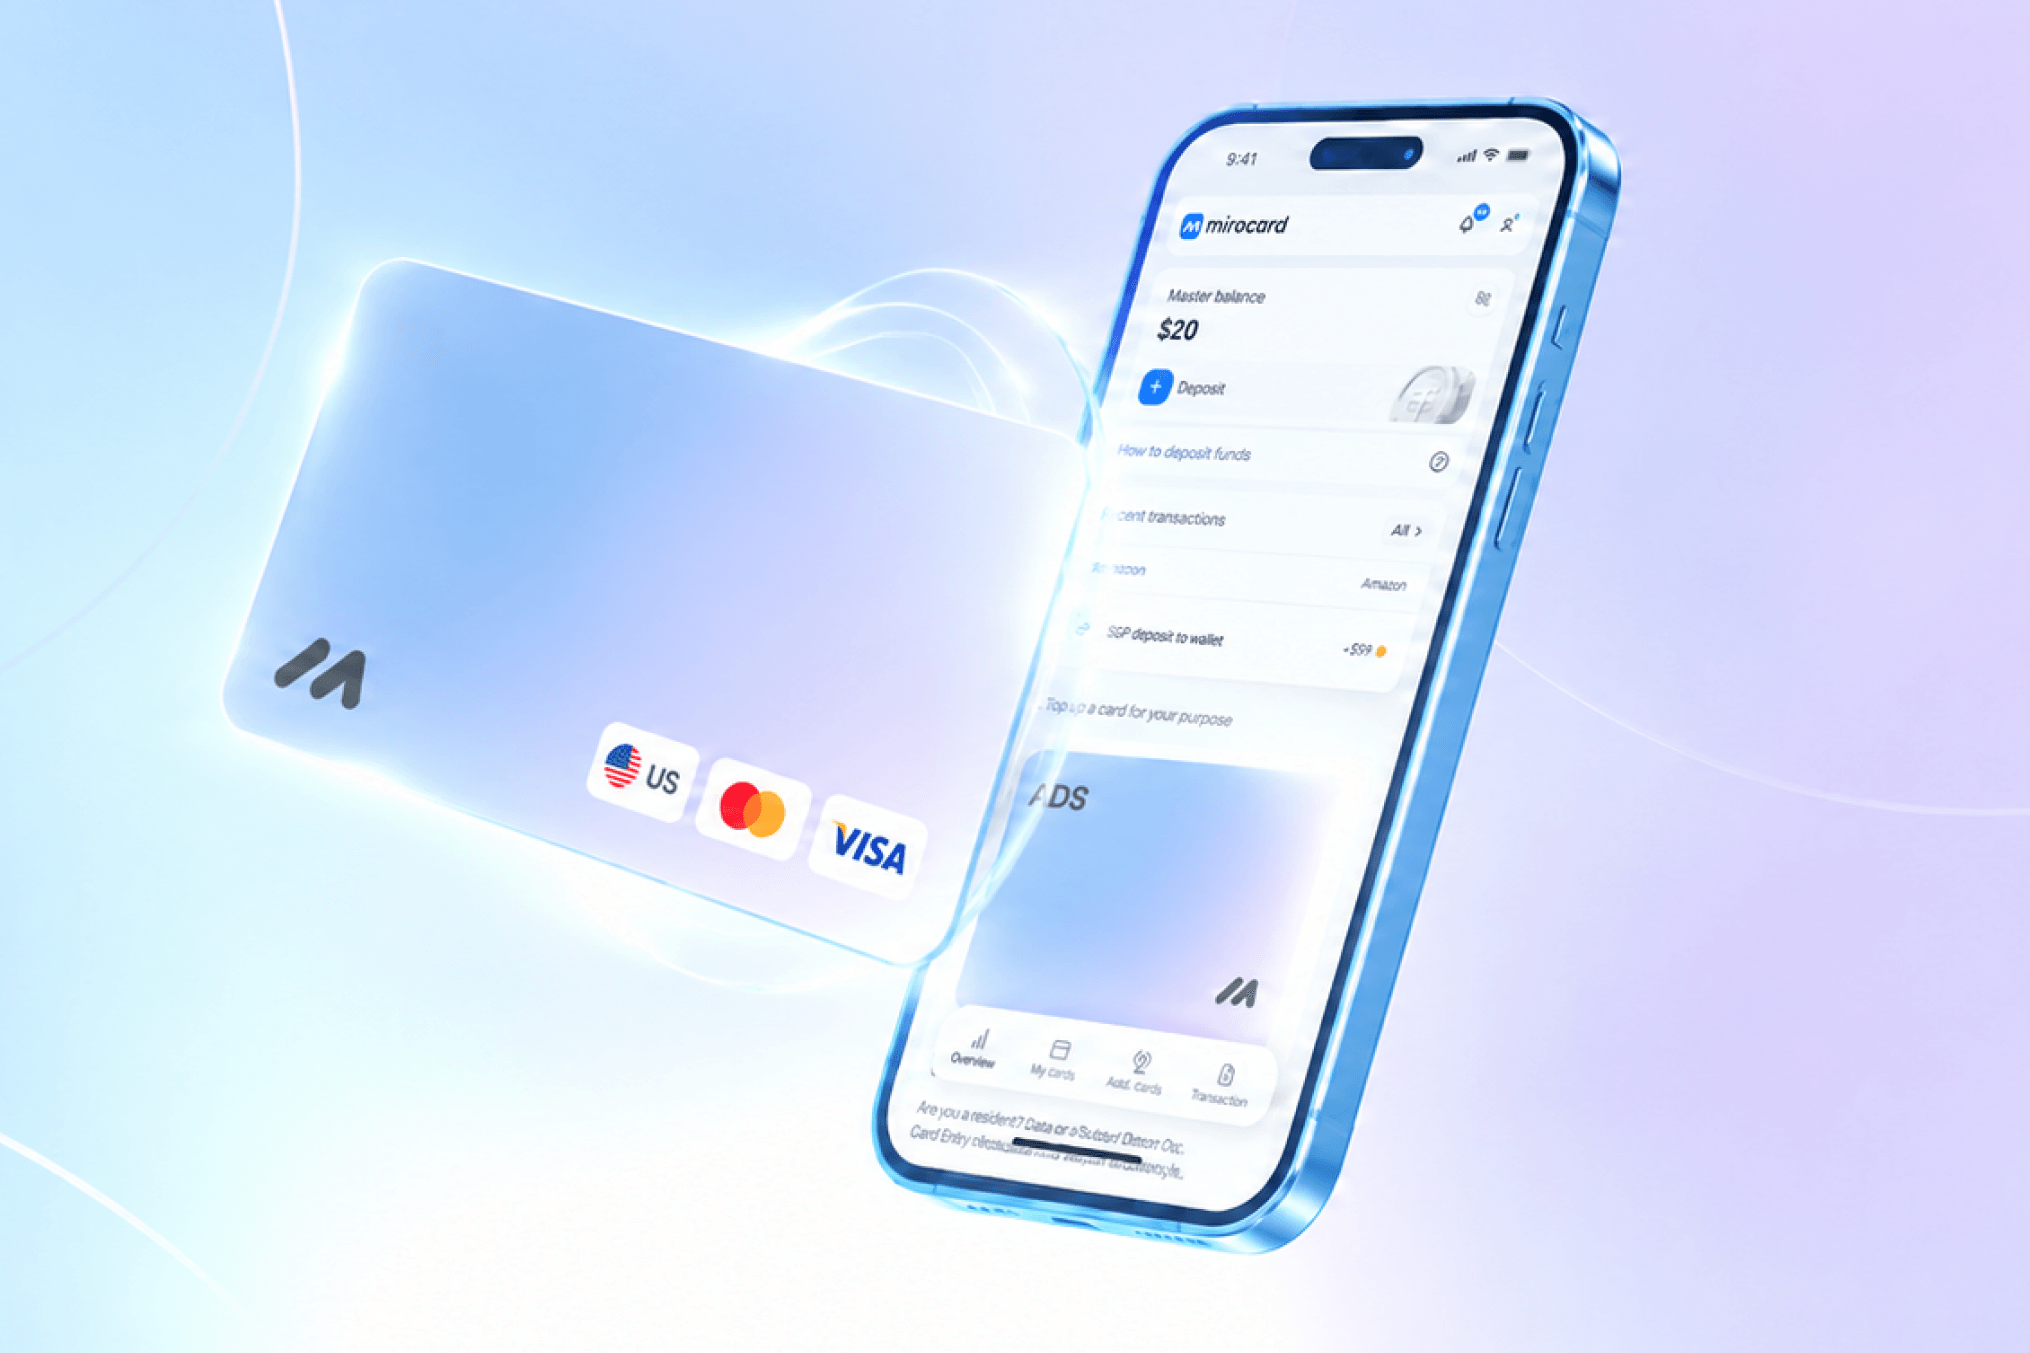
Mirocard is built exactly as this kind of wallet-plus-card pairing. The overall balance in your account works as a master balance, and on top of it you can issue one or several virtual Visa and Mastercard cards for specific tasks. A card for paying subscriptions, for example, costs $5, is set up entirely online with no bank visit and no paperwork, and its funds come straight from the master balance rather than as a separate payment from an outside account.
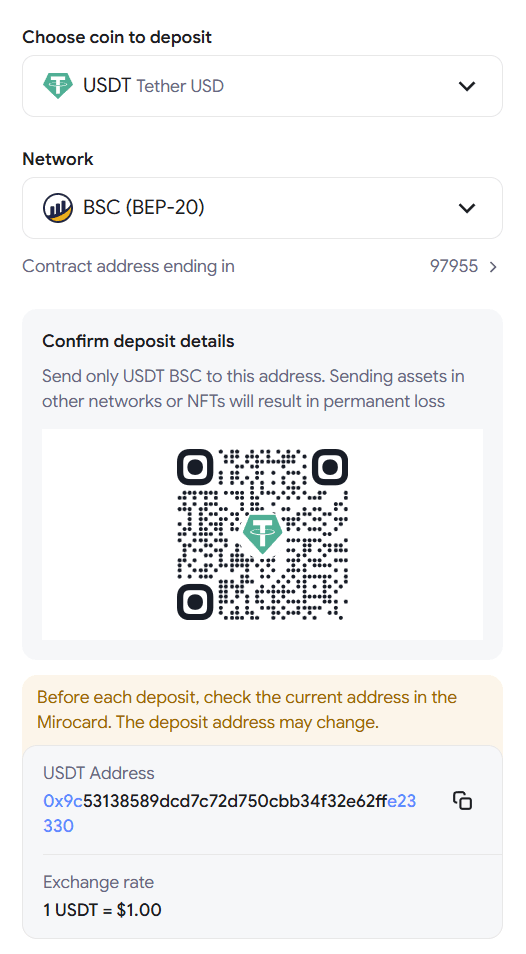
The master balance is topped up with cryptocurrency — BTC, ETH, USDT, USDC, TON, TRX, or SOL convert into balance automatically inside Mirocard itself. From that point on, the site on the other end of any payment can't tell the difference between this balance and a regular bank account.
The top-up fee shows right on the transfer screen before you confirm the operation, so the final amount is known upfront rather than something you find out after the fact on a statement.
How to use Mirocard for payments: a step-by-step guide
It all starts with your Mirocard account, where a master balance appears right after you sign up — an empty wallet at first, which will later fund your cards.
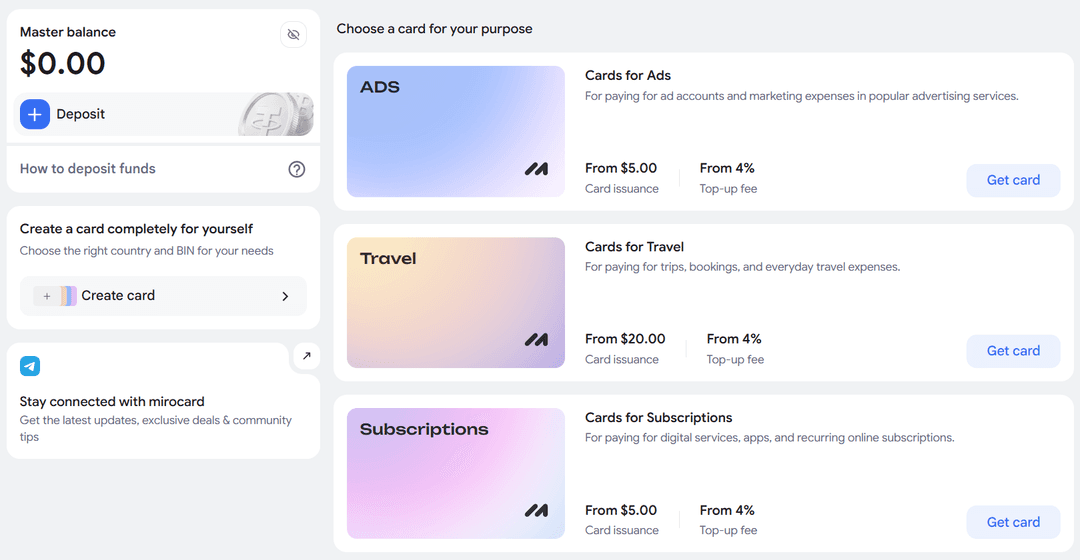
Next, you top up the balance using one of the available methods, and only then does card issuance open up. You pick a card type for the task at hand — a card for paying subscriptions, say — and confirm the setup. The details — the number, expiration date, and code on the back — appear in your account right away, with no waiting for confirmation by email or text.
Before linking the card to a service with recurring charges, it's worth making one small payment first to confirm the details went through correctly. That costs far less time than dealing with a decline after the service tries to charge the full tier price.
After that, you can pay with the card on any site that accepts Visa or Mastercard, and the master balance keeps showing the combined total across every card you've issued.
Can you use several virtual cards with one wallet
Yes, and that's one of the practical advantages of a wallet-plus-card setup — the format itself puts no limit on how many cards you can have, and the money for all of them comes from the same master balance.
Conclusion
In this pairing, the wallet and the card aren't competing with each other — they cover one task from two different angles. One stores the money, the other lets it out into the world wherever the wallet itself isn't accepted directly.
Mirocard brings both pieces together in one account, so topping up the balance and issuing a card against it happens with no extra hops between different services. From there, the setup just runs on its own — you top up the balance as needed, and issue as many cards against it as you need to keep your spending under easy control.